Instructions
Account Creation Back to Top
First, create an account, or sign in to one already created.
All users in a household would sign in with the same email/password combination.
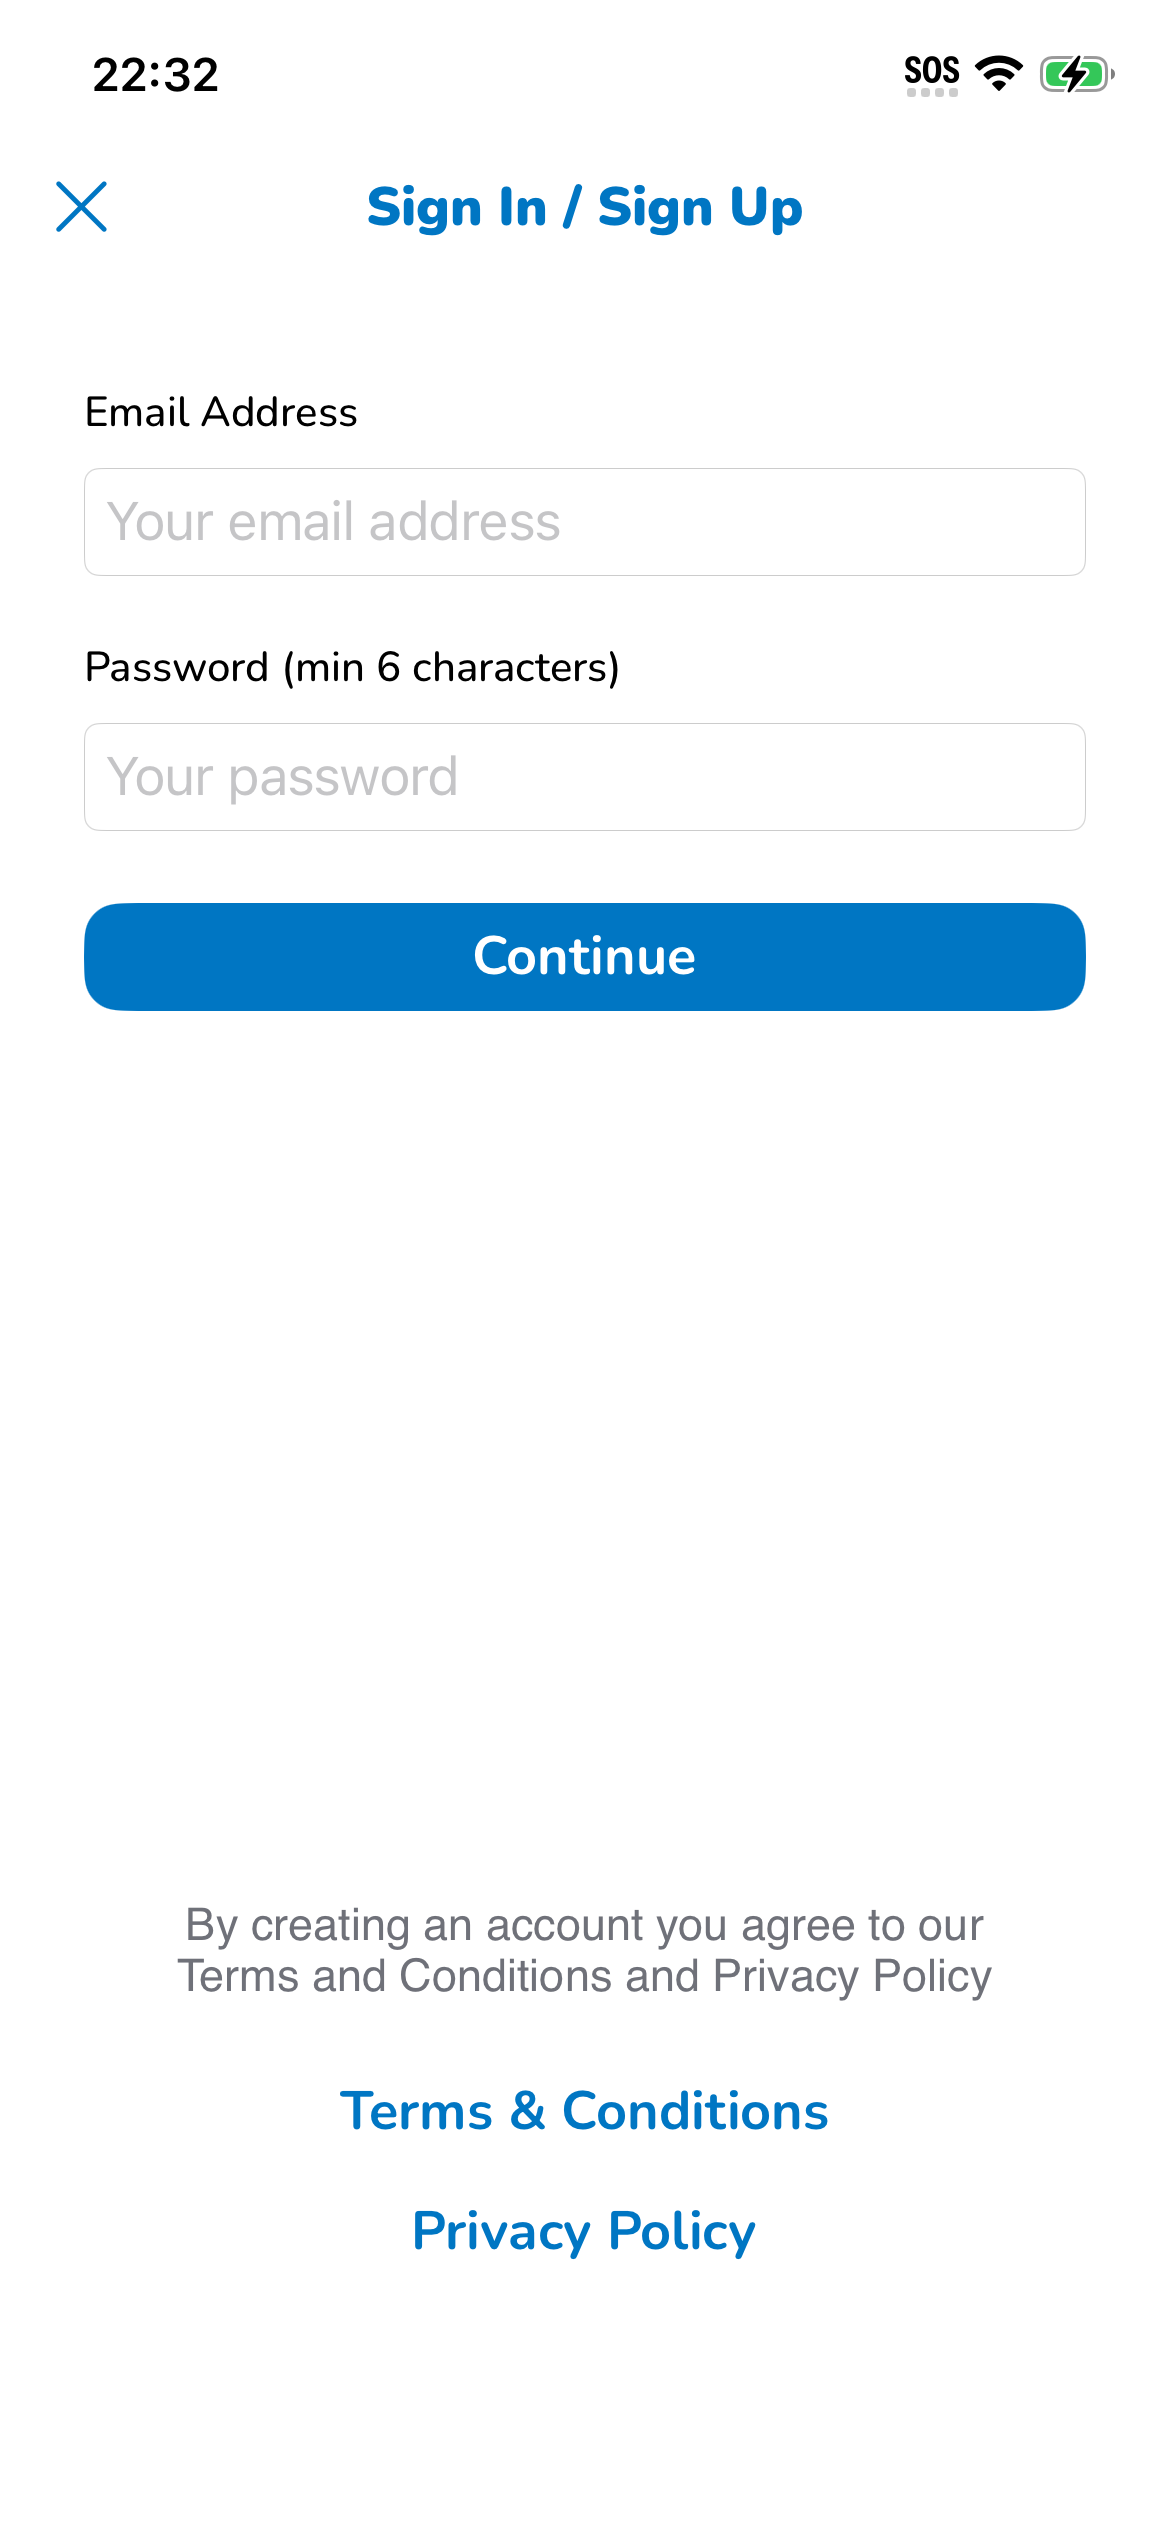
Create your account by entering a name, and a password, then tap on 'Continue'.
The system will ask you for a name, and will create your account.
Managing Members Back to Top
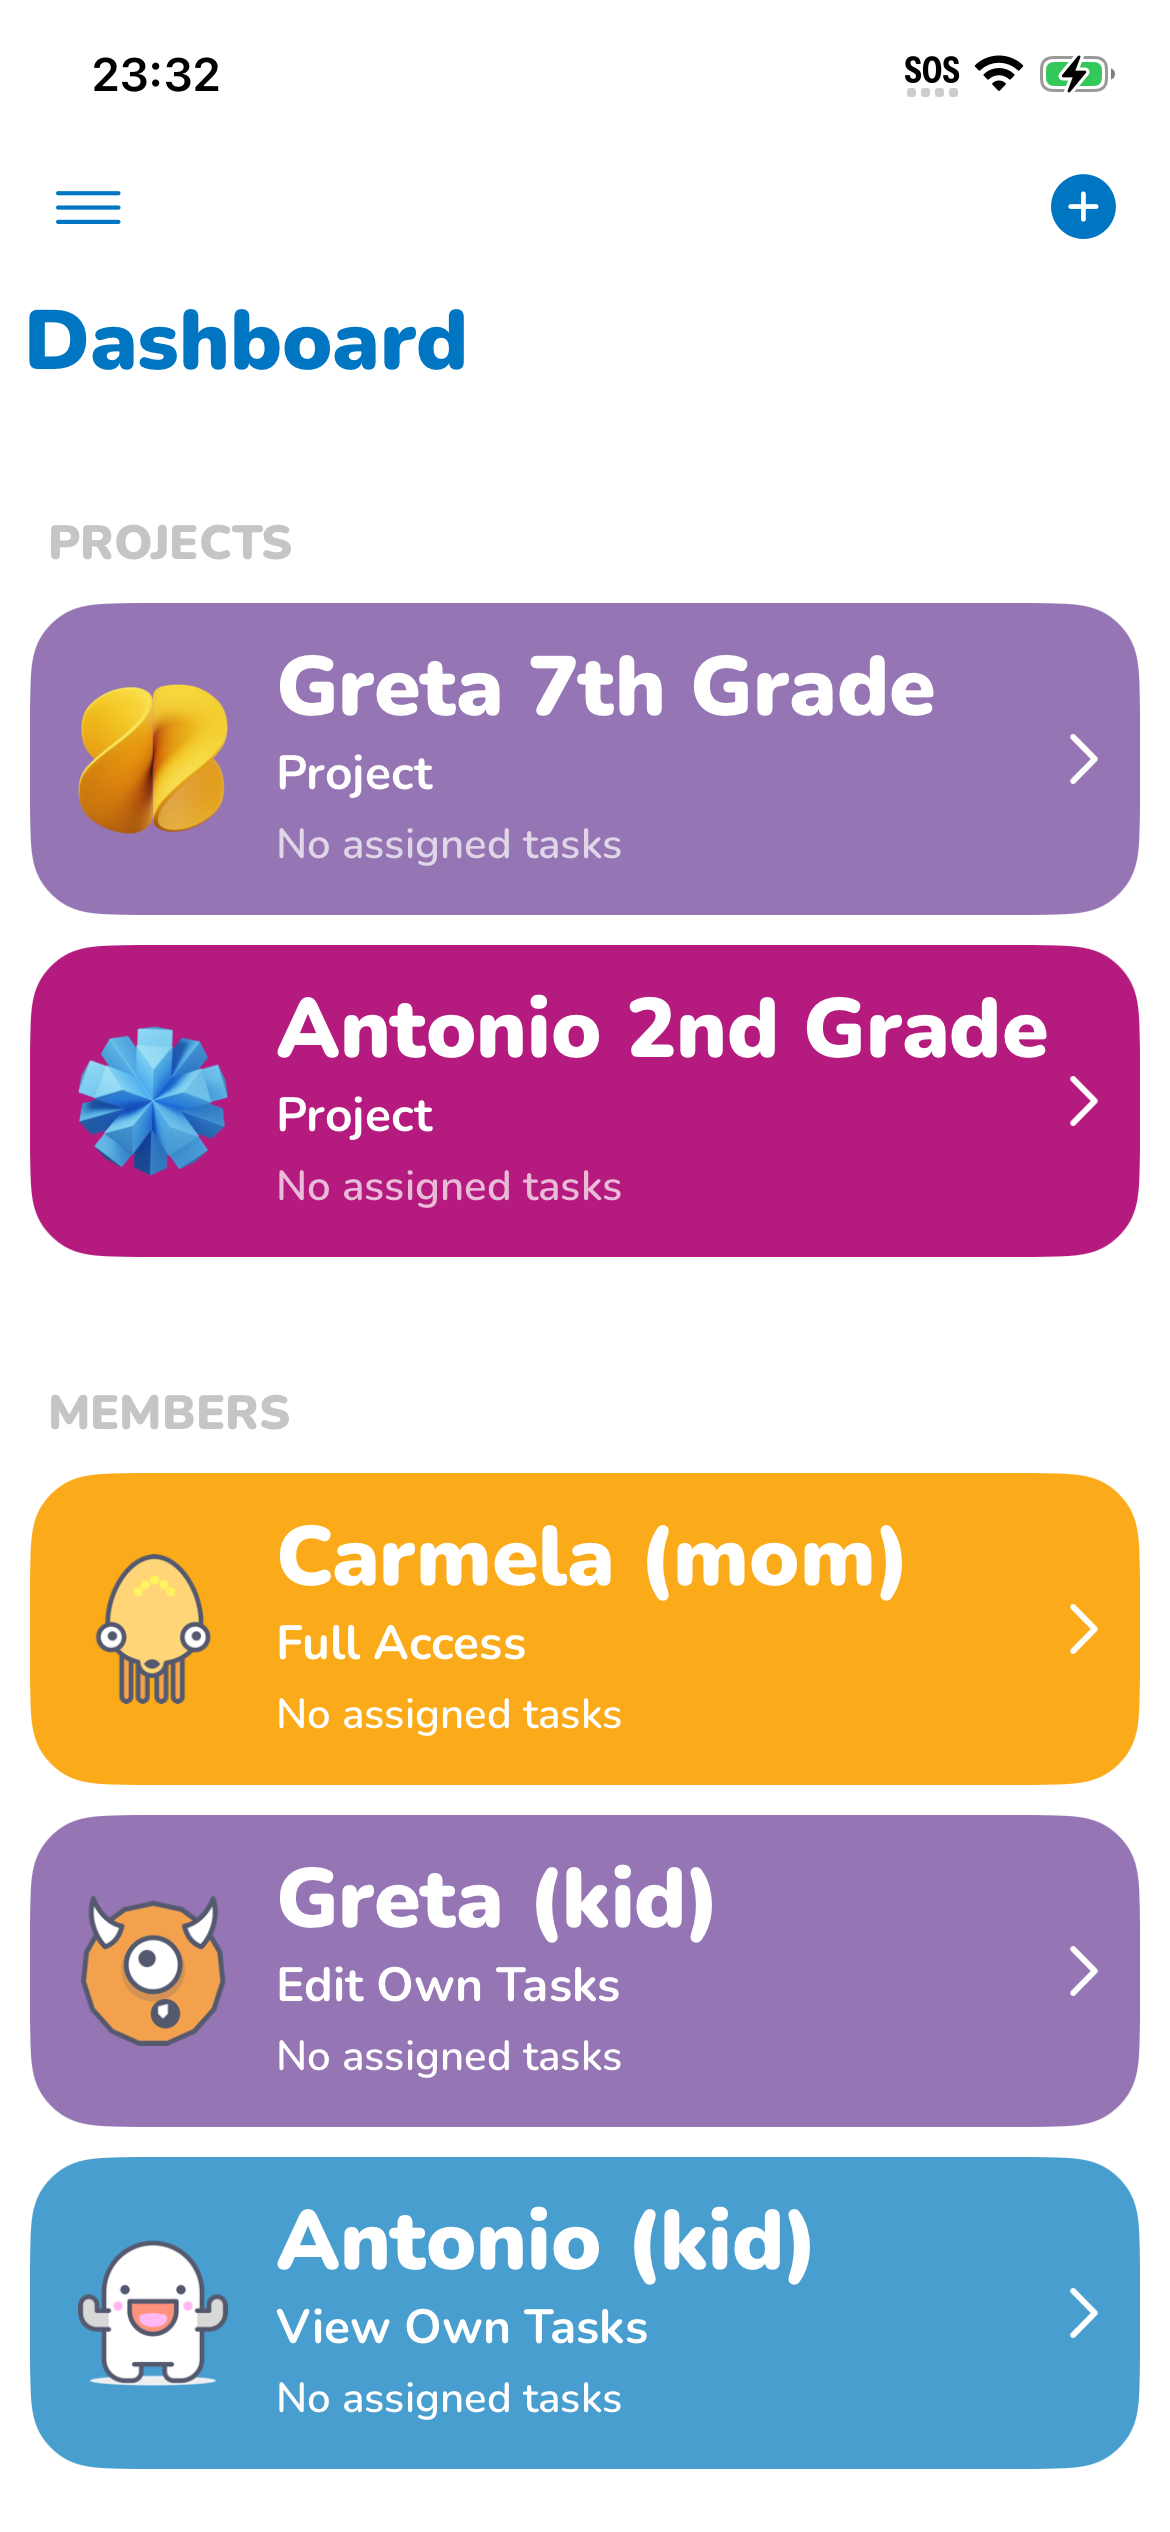
Your account has been successfully created!
Now you start creating users inside the app, by tapping the 'Plus Sign' button in the top right corner.
On the Dashboard you can see all members and projects added to the app.
Select one by tapping on it to view their tasks.
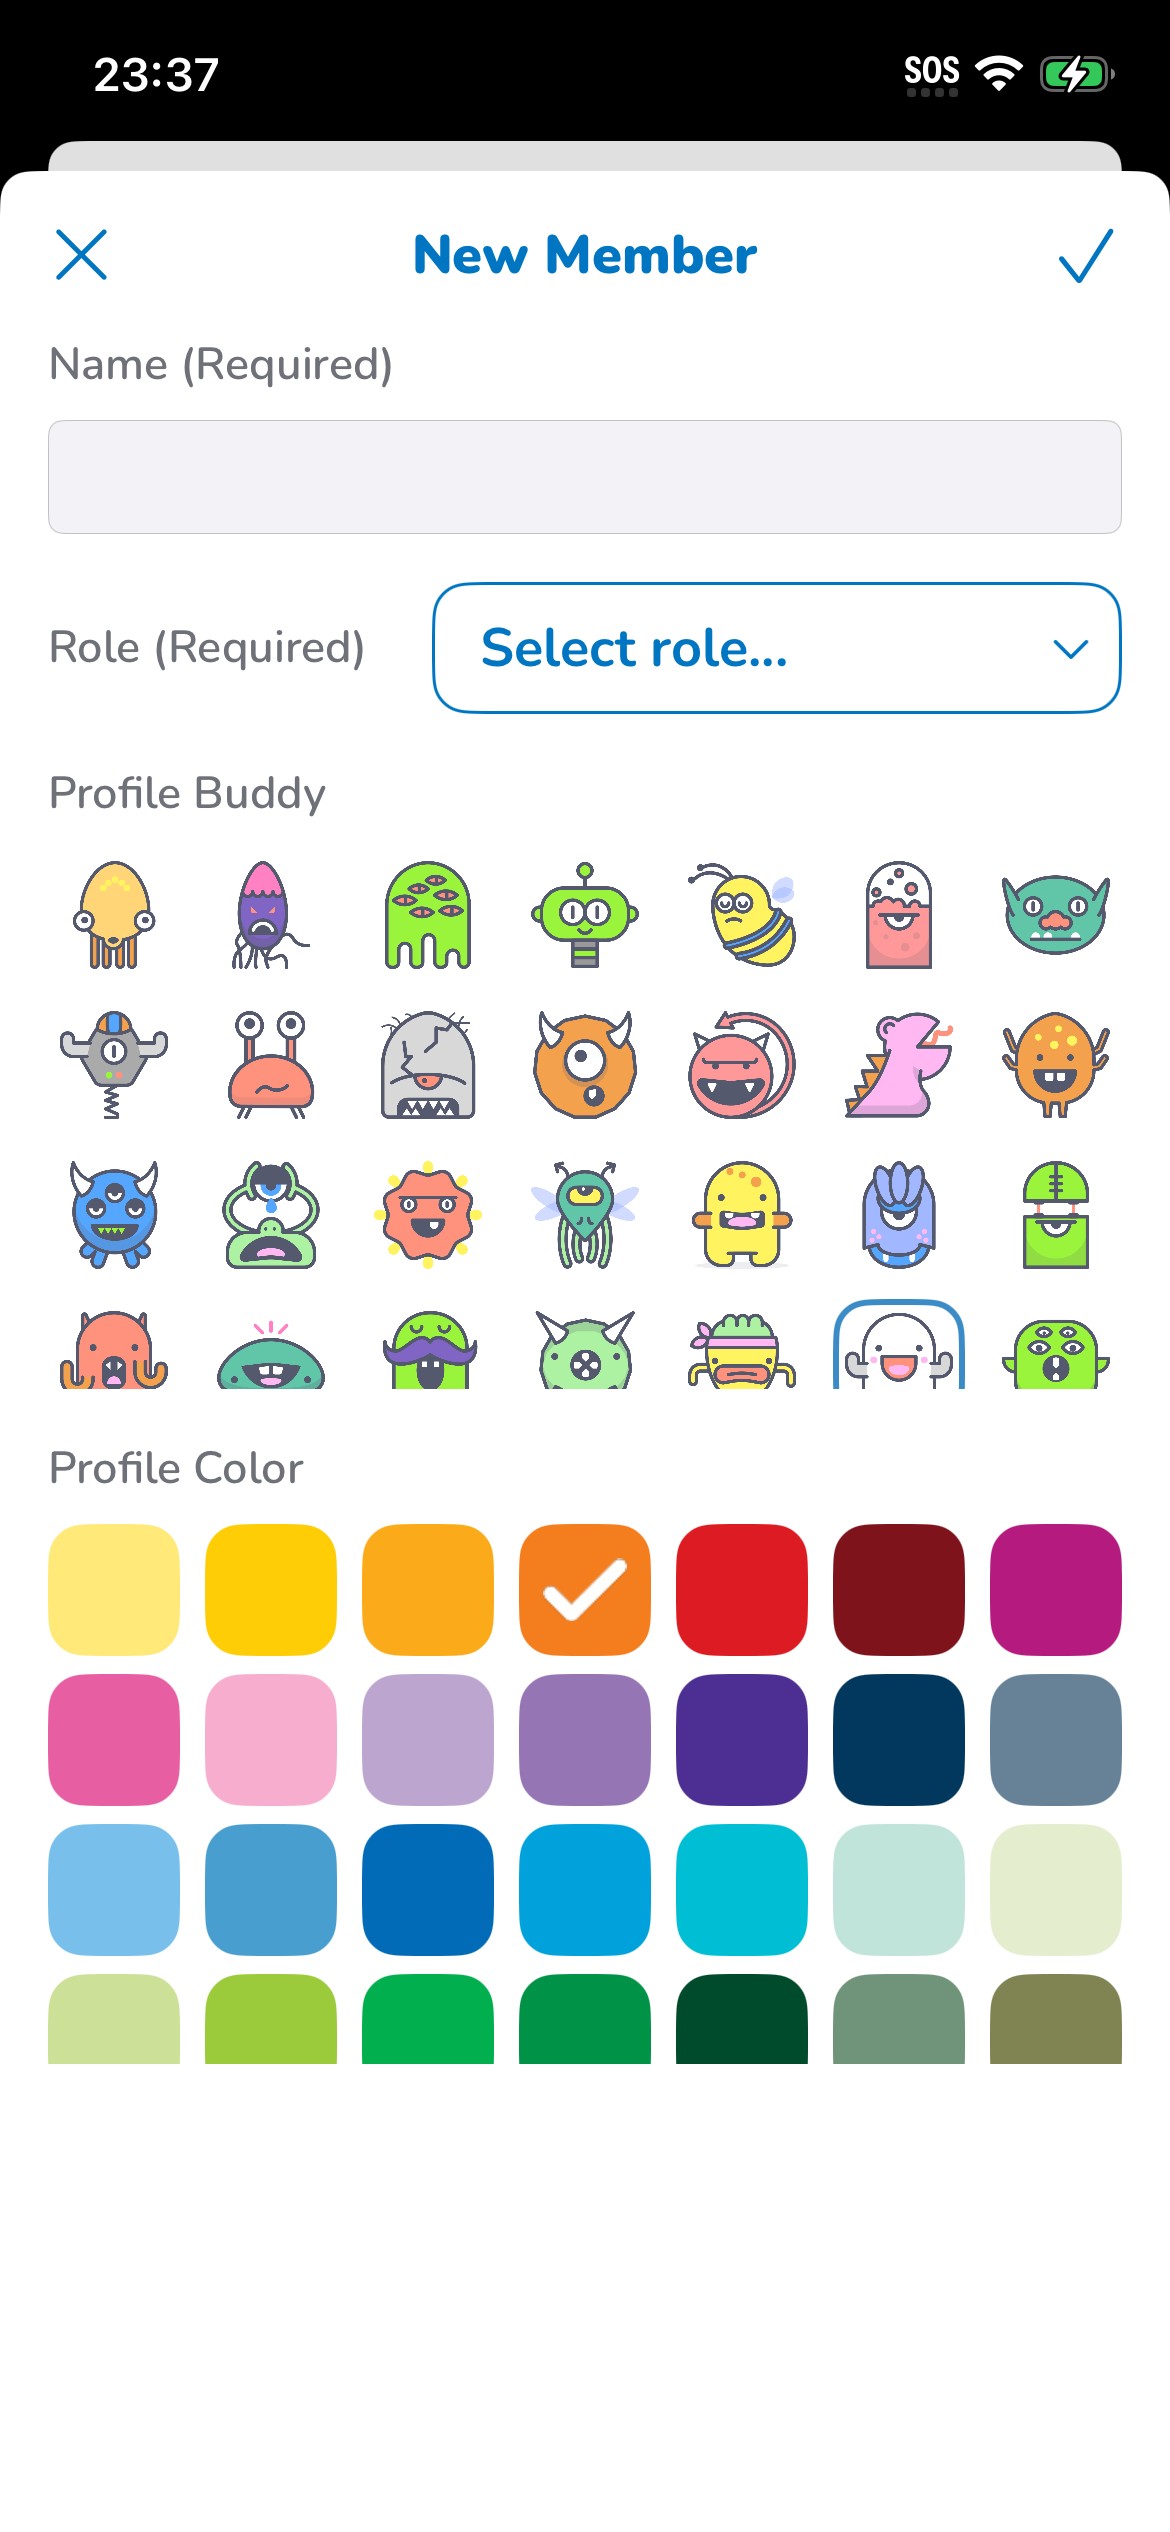
Adding or editing a member allows you to select:
- A name (or nickname if you prefer to keep your personal information private)
- The role of the member (Teacher for parents/caretakers, Student for kids)
- A funny mascot
- A profile color
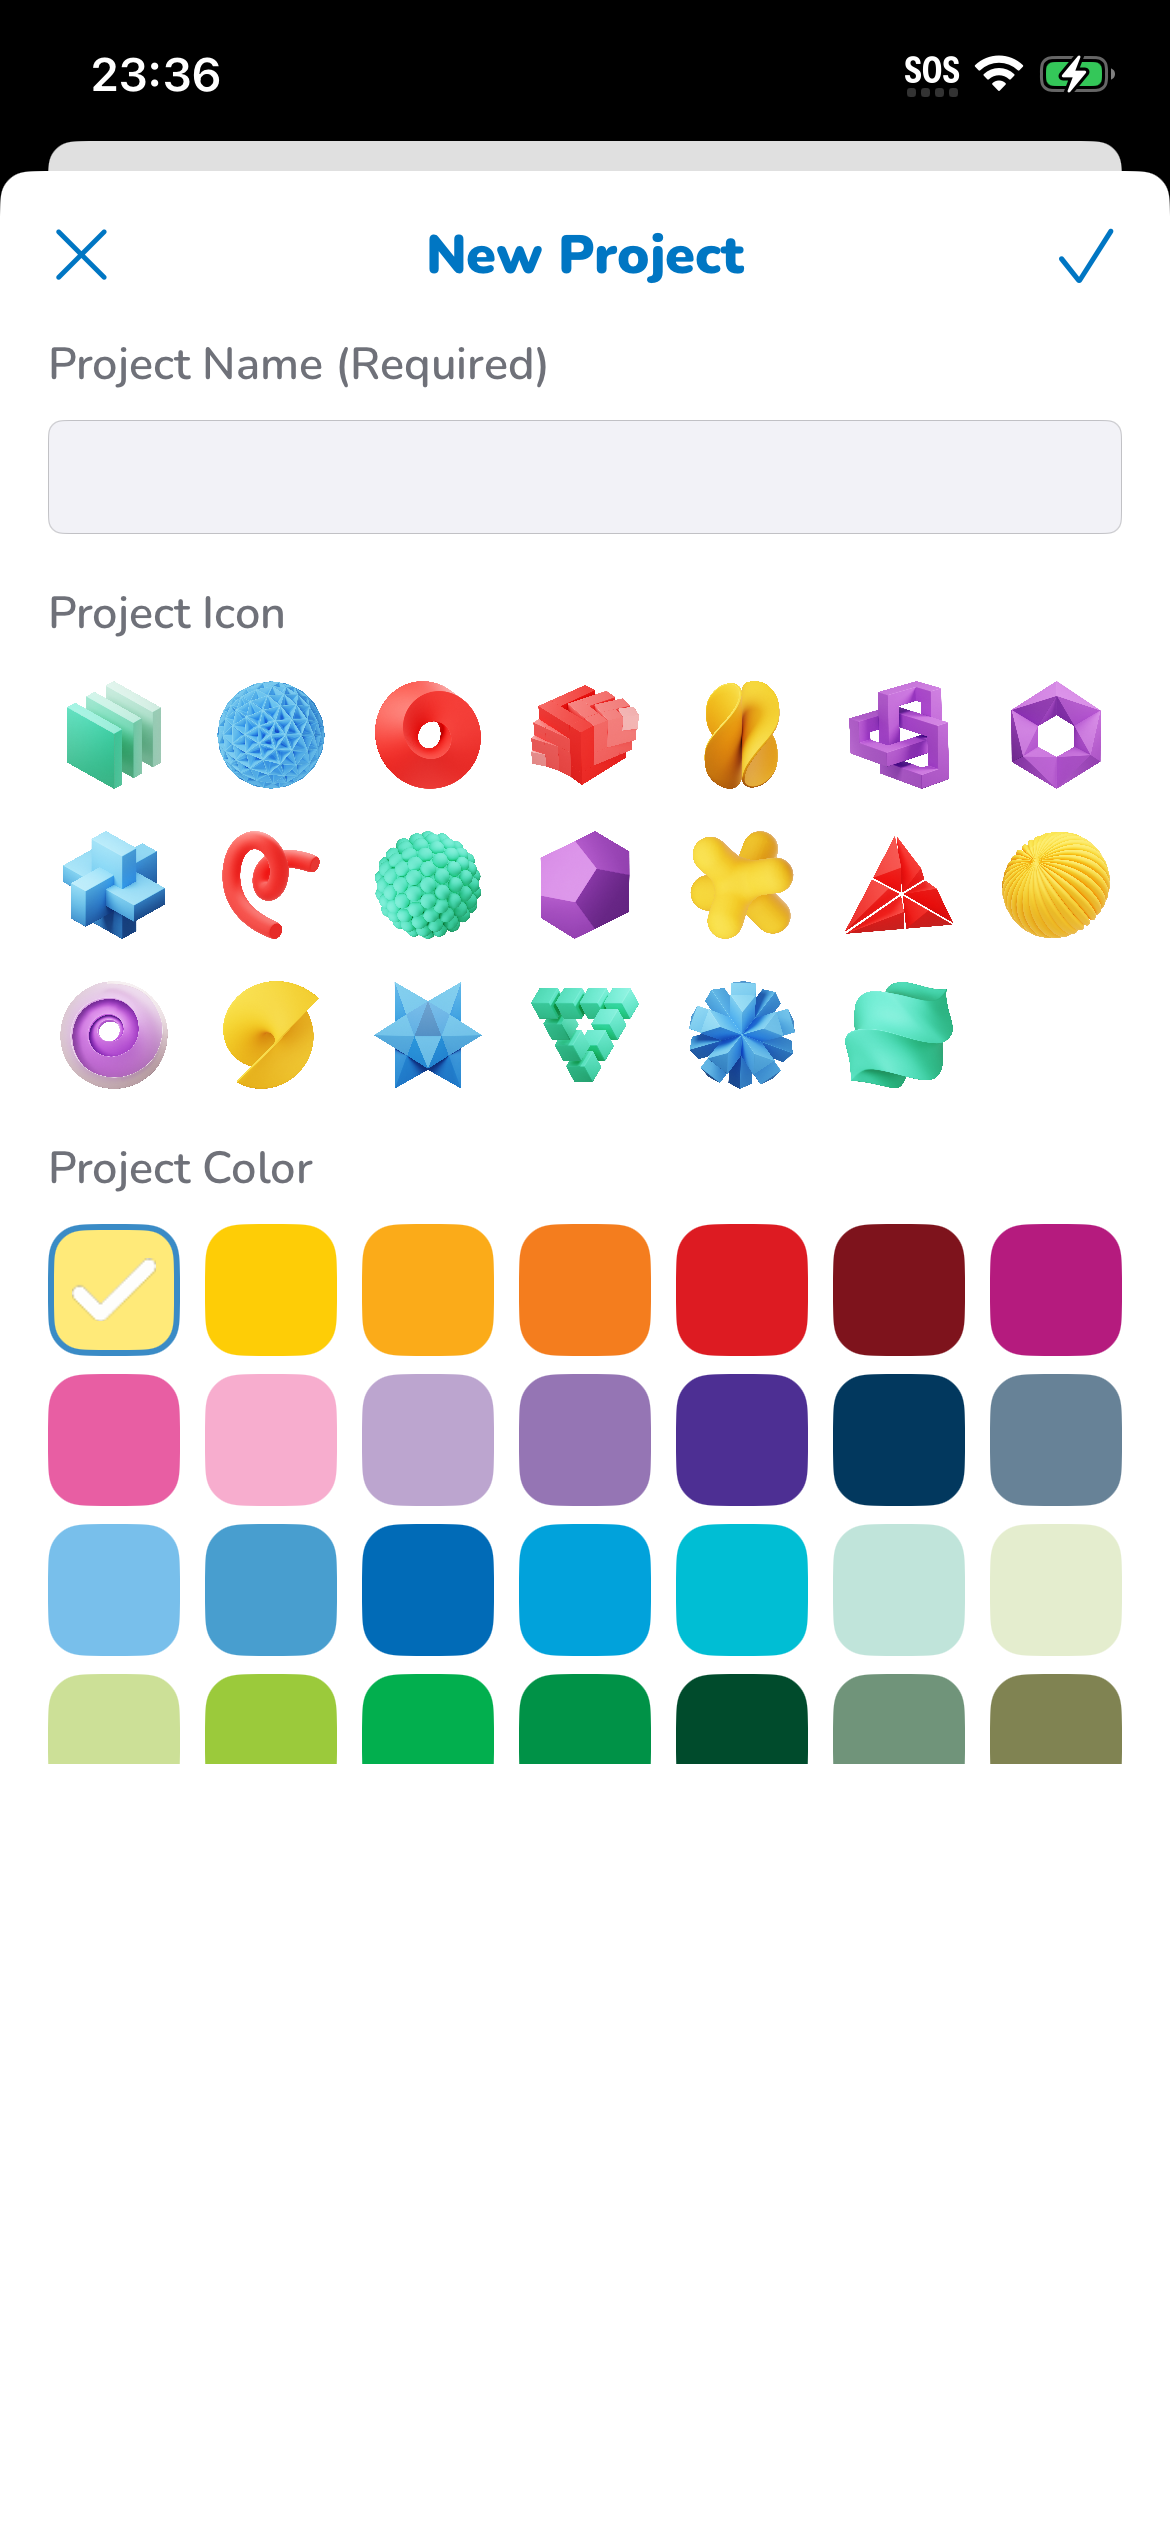
You can also add projects where to manage and assign tasks to one or more members.
Task Lists Back to Top
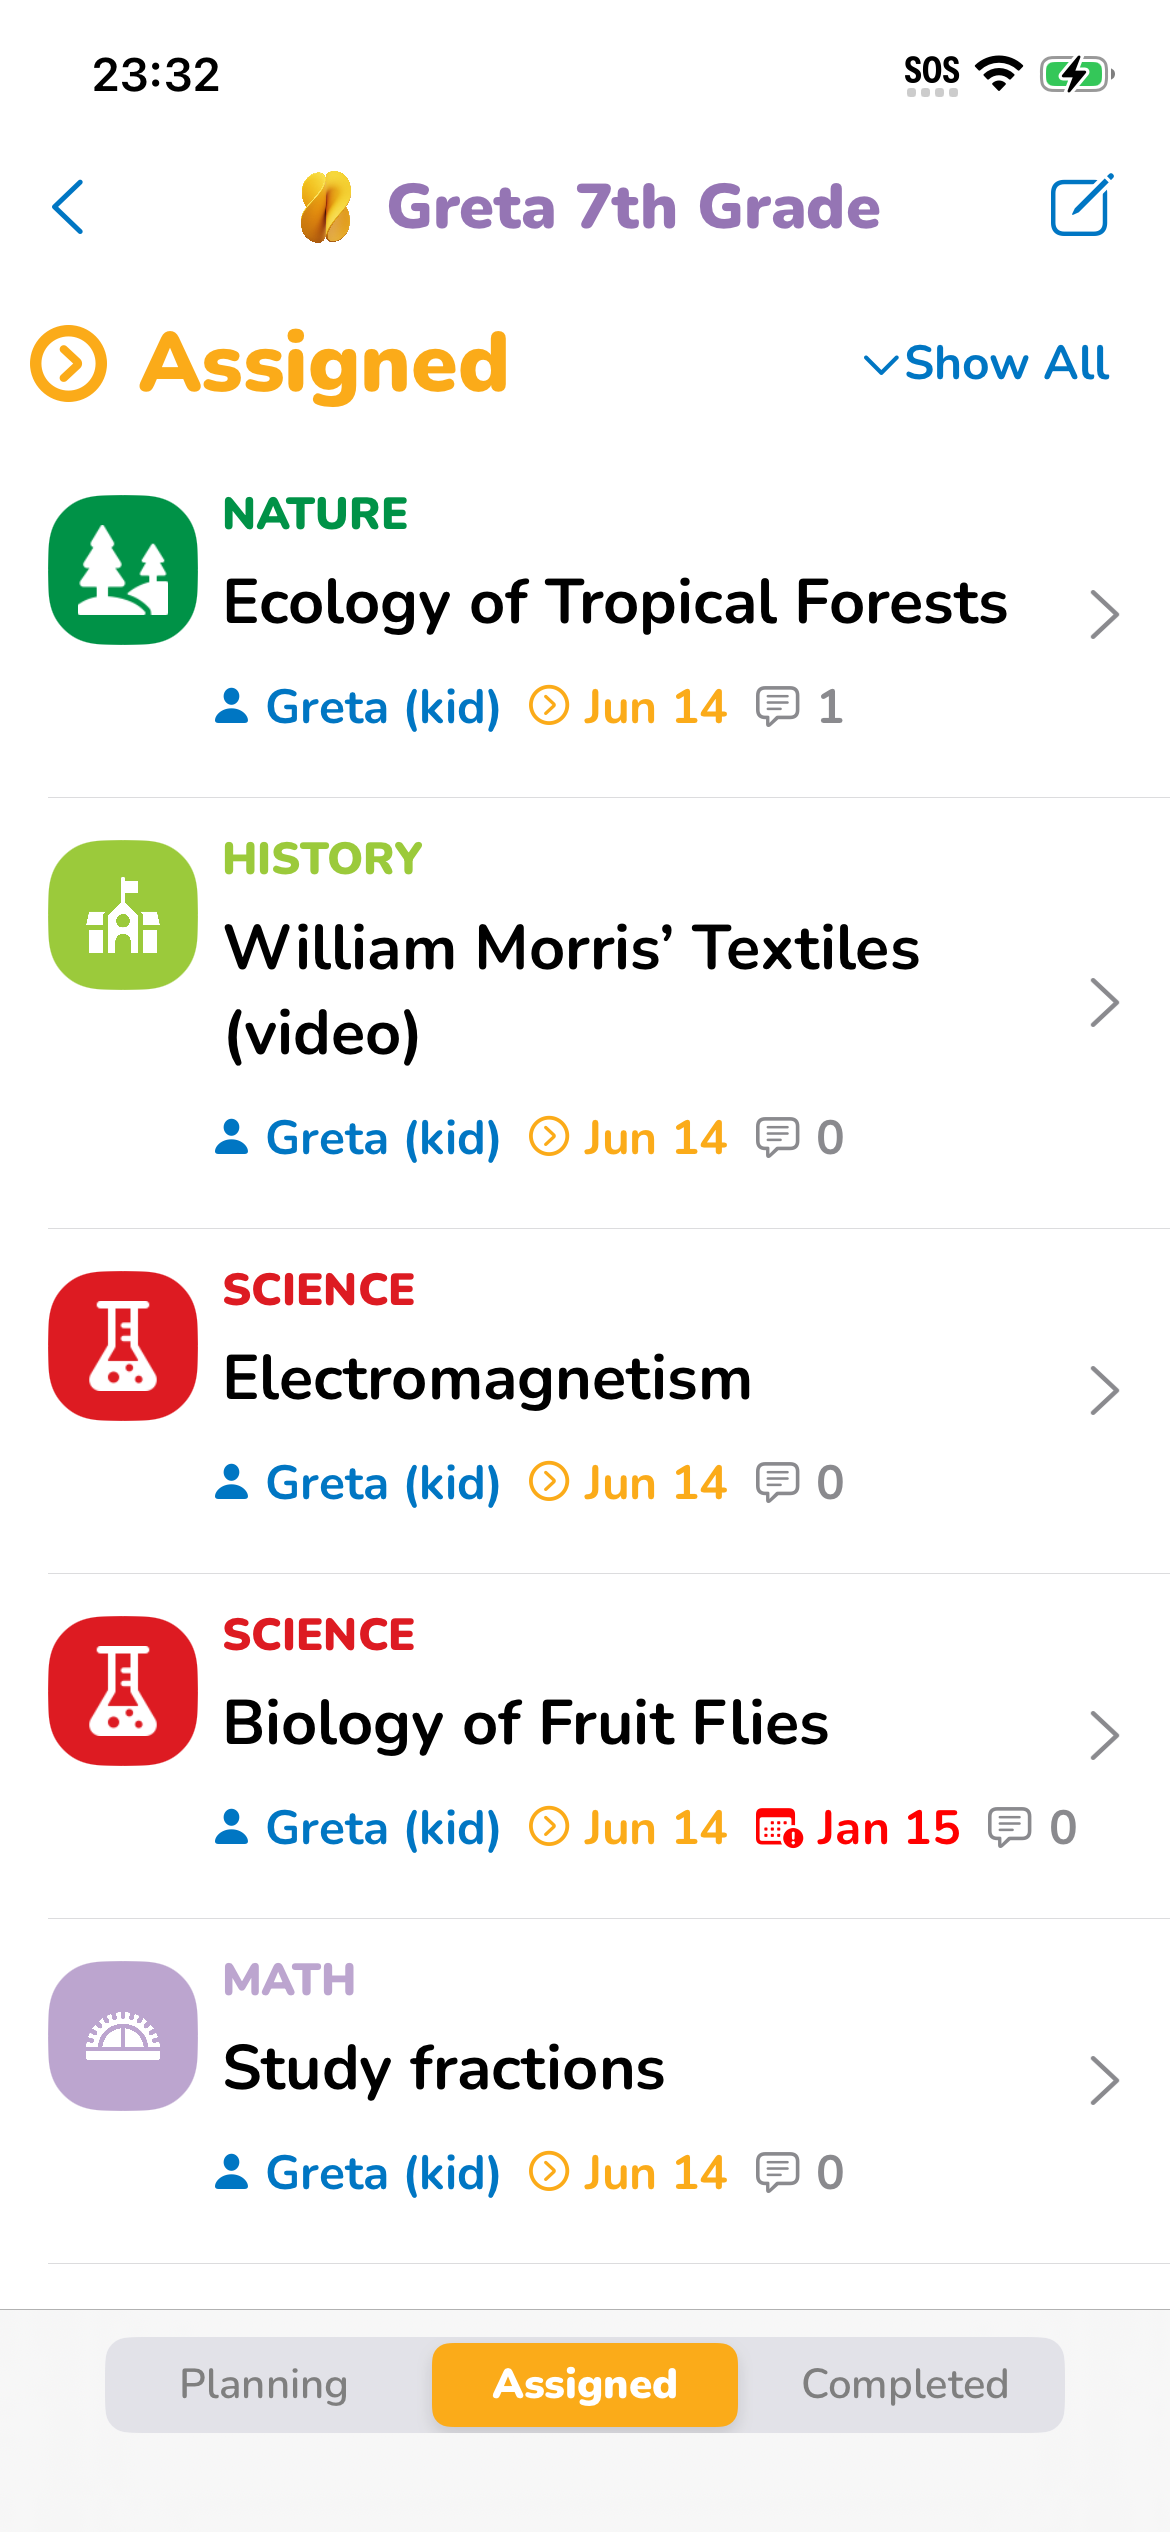
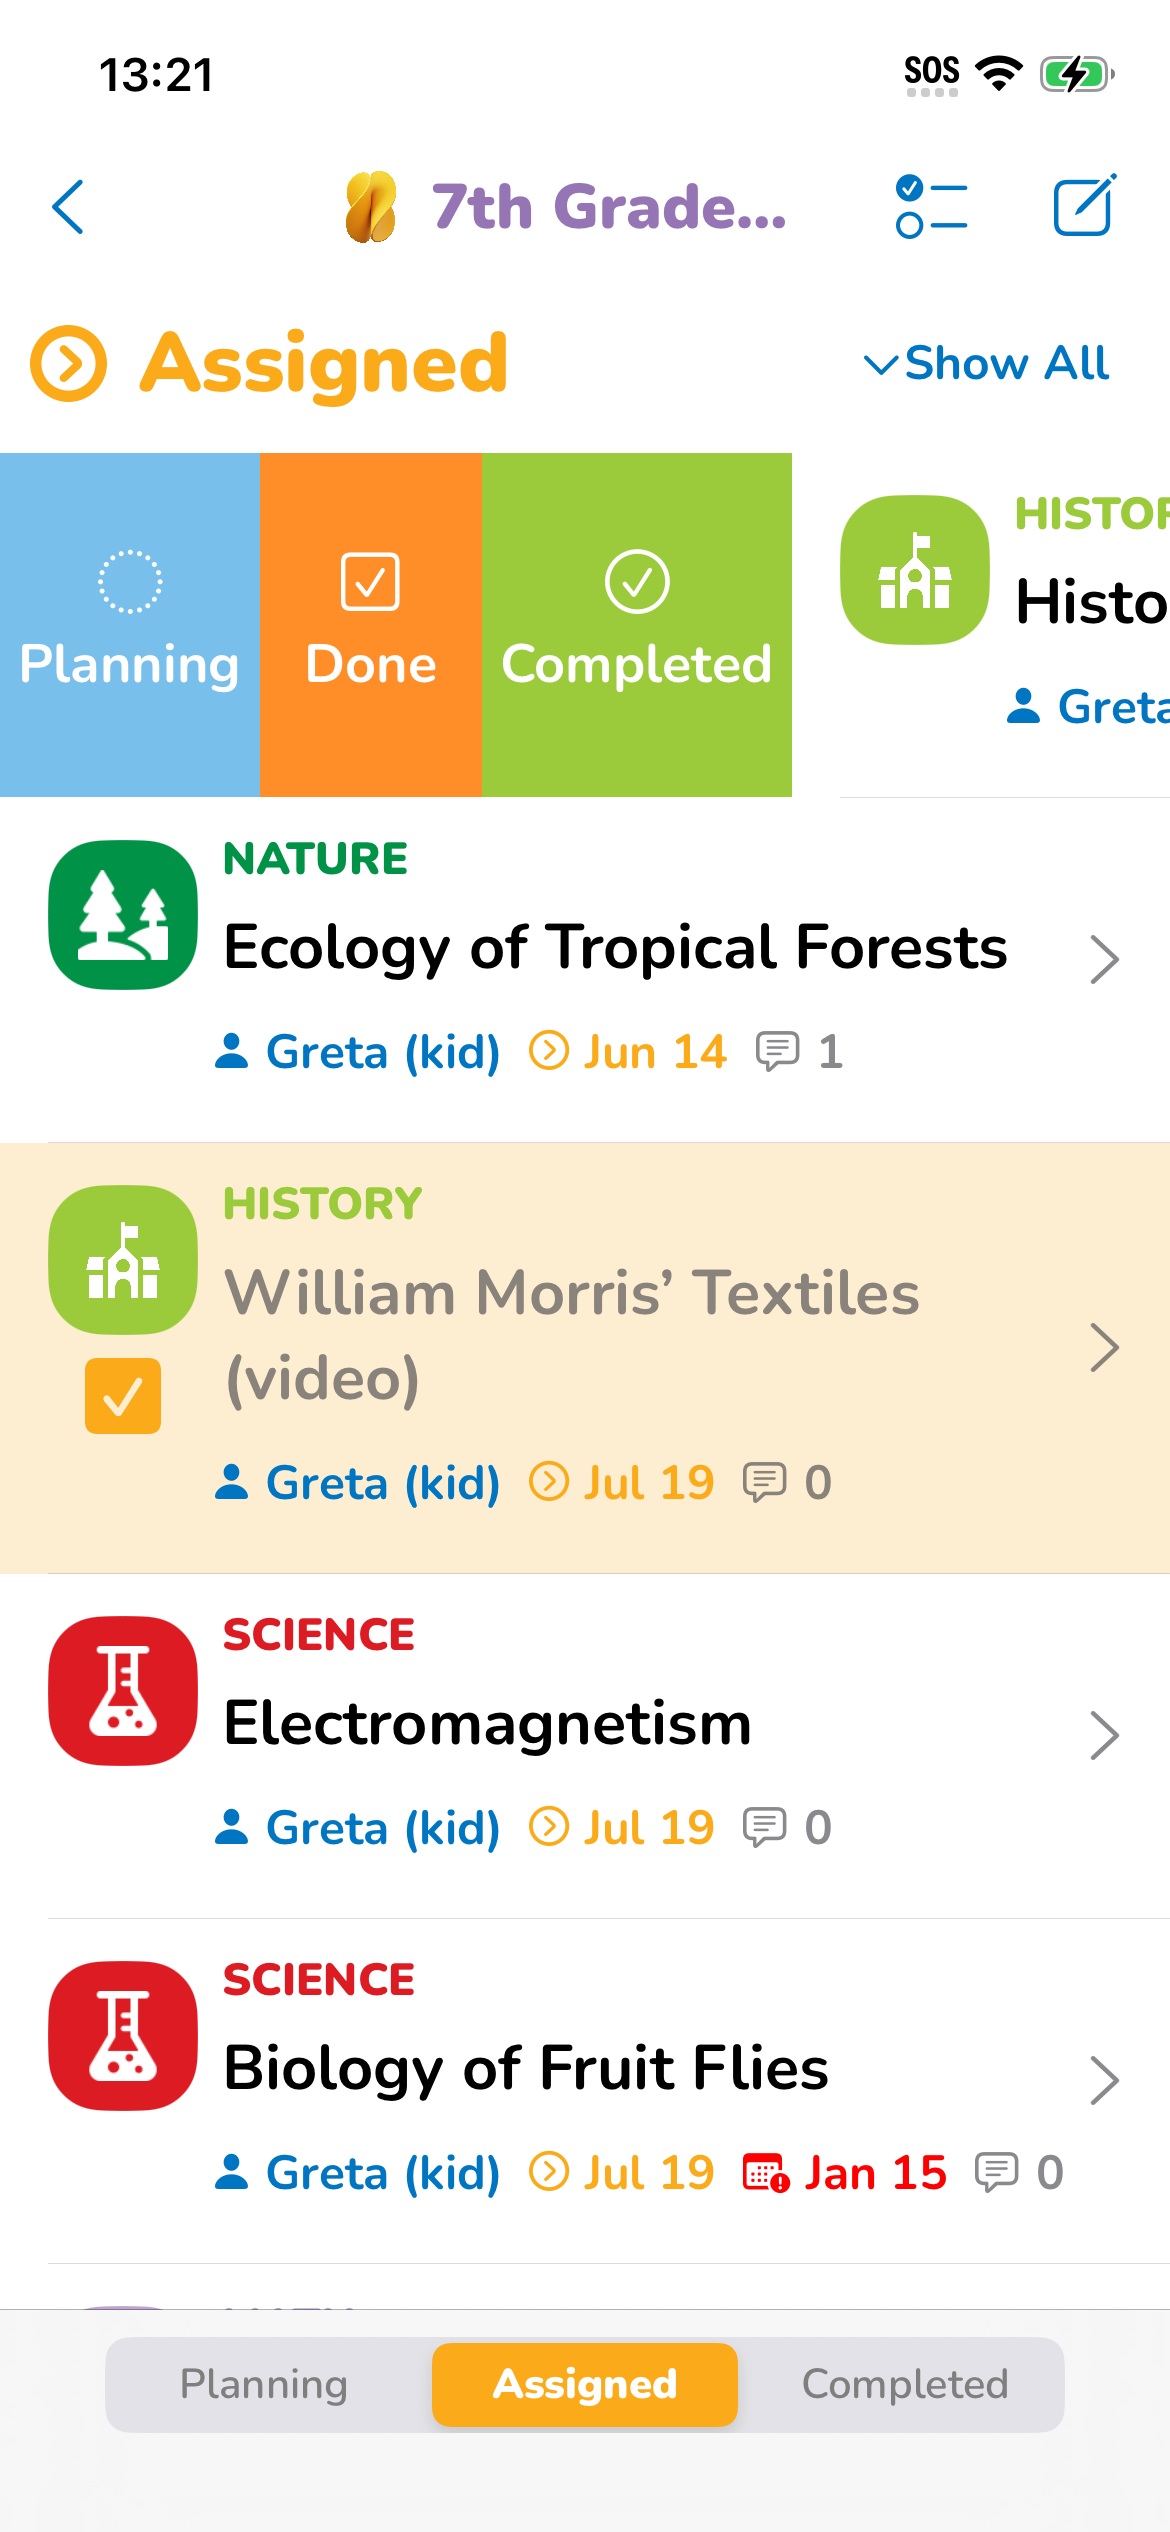
Tapping on a member or a project takes you to their Assigned tasks section
There you can see the tasks currently assigned to the selected member or in the selected project.
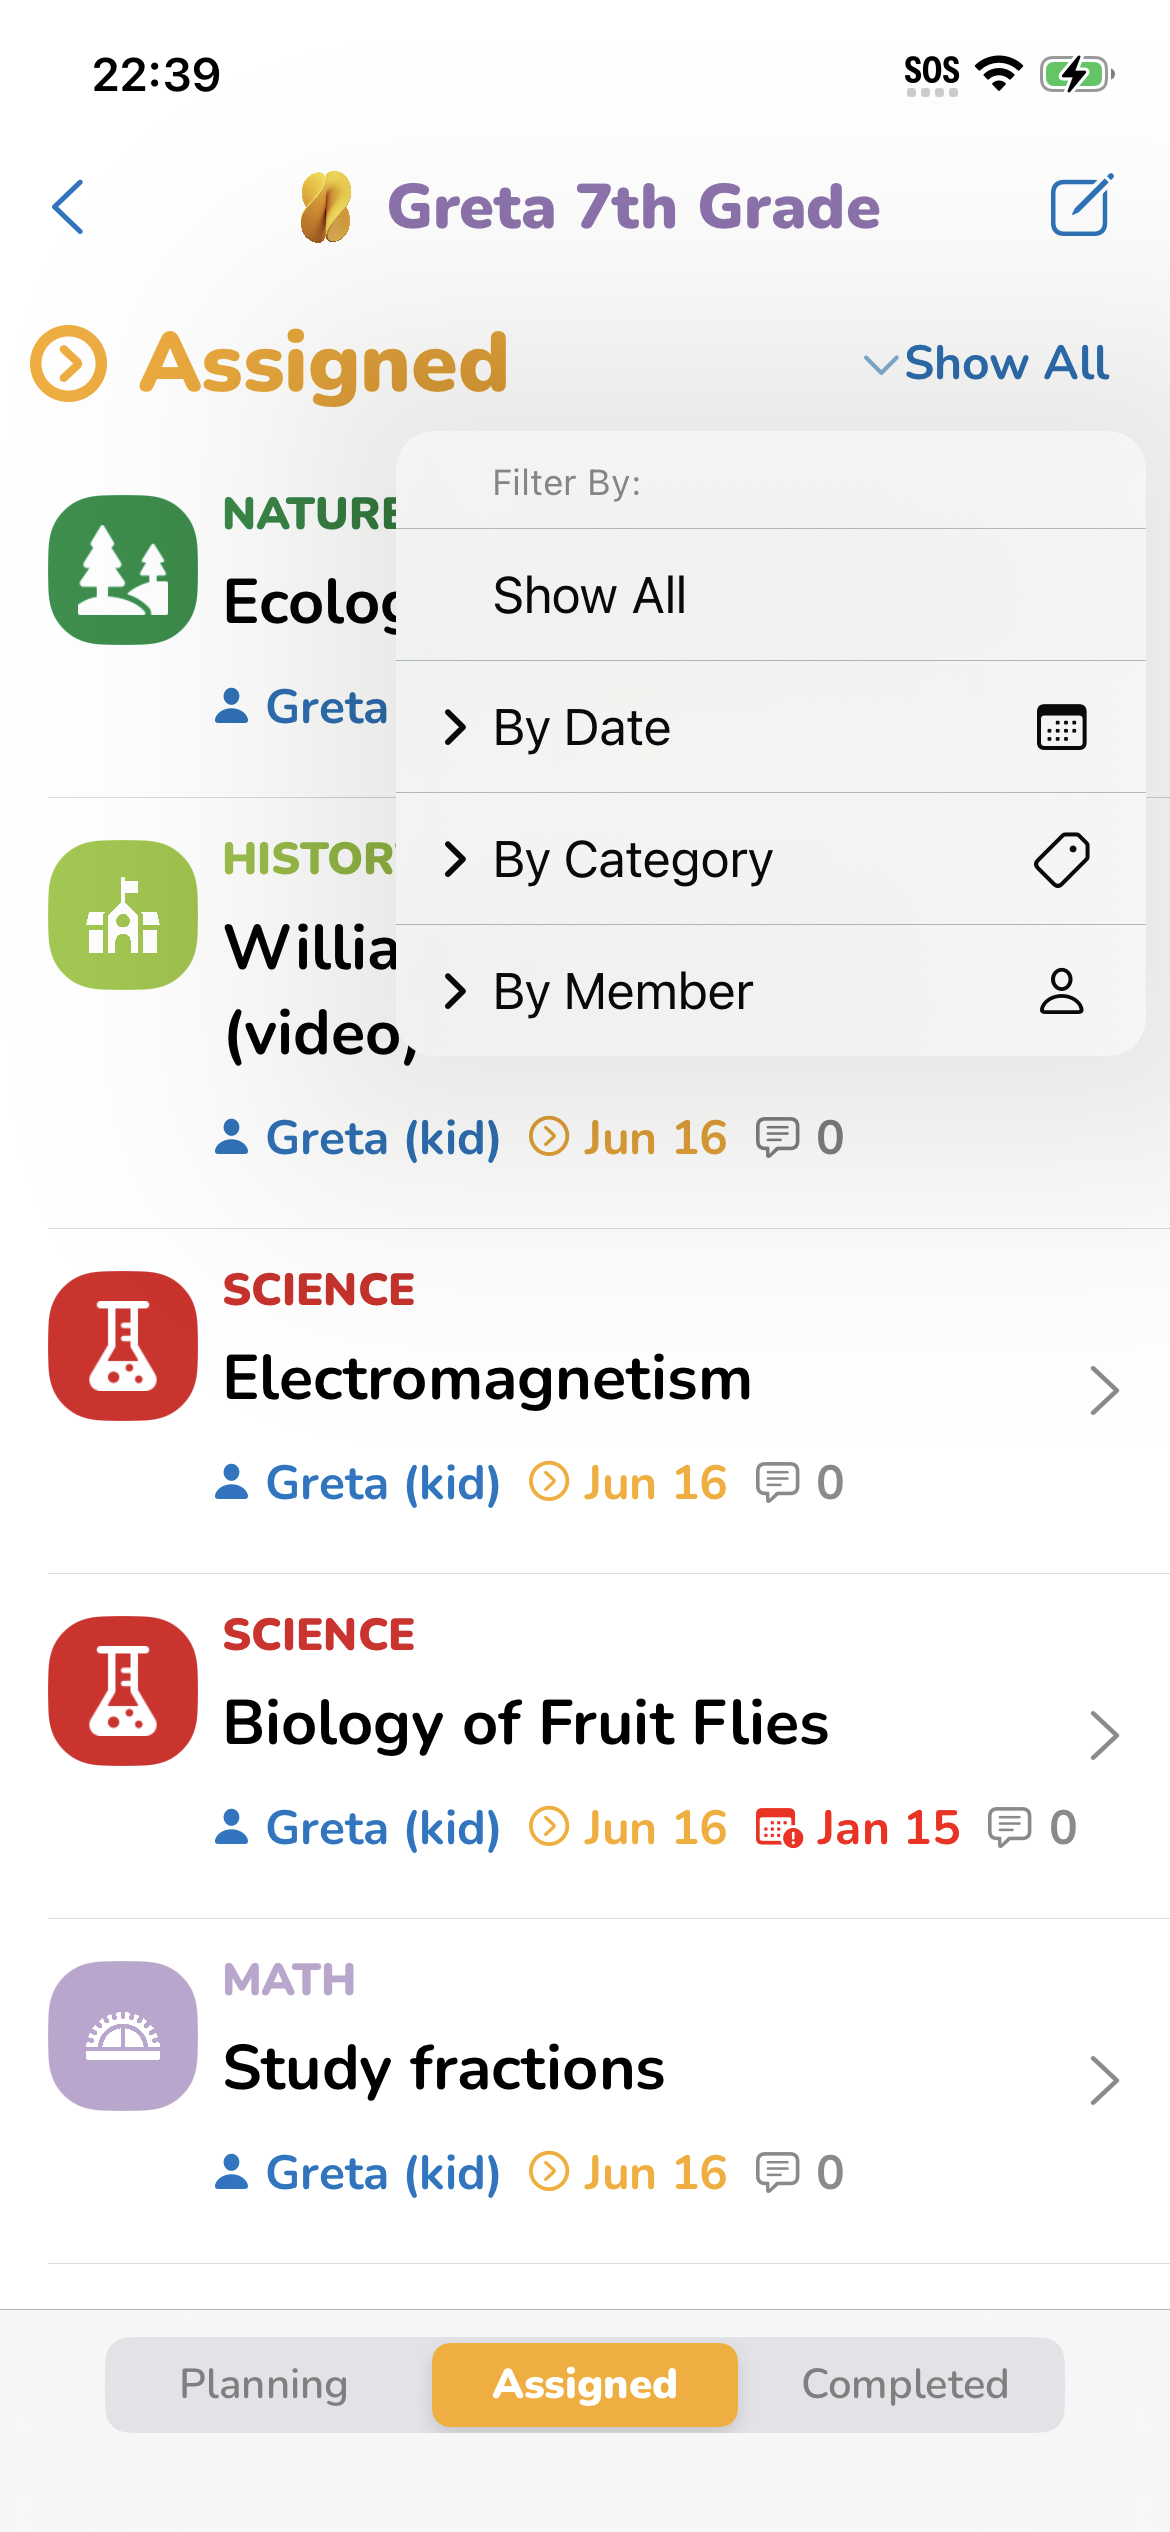
The filter menu allows to filter by Date, Category, Member, or Project
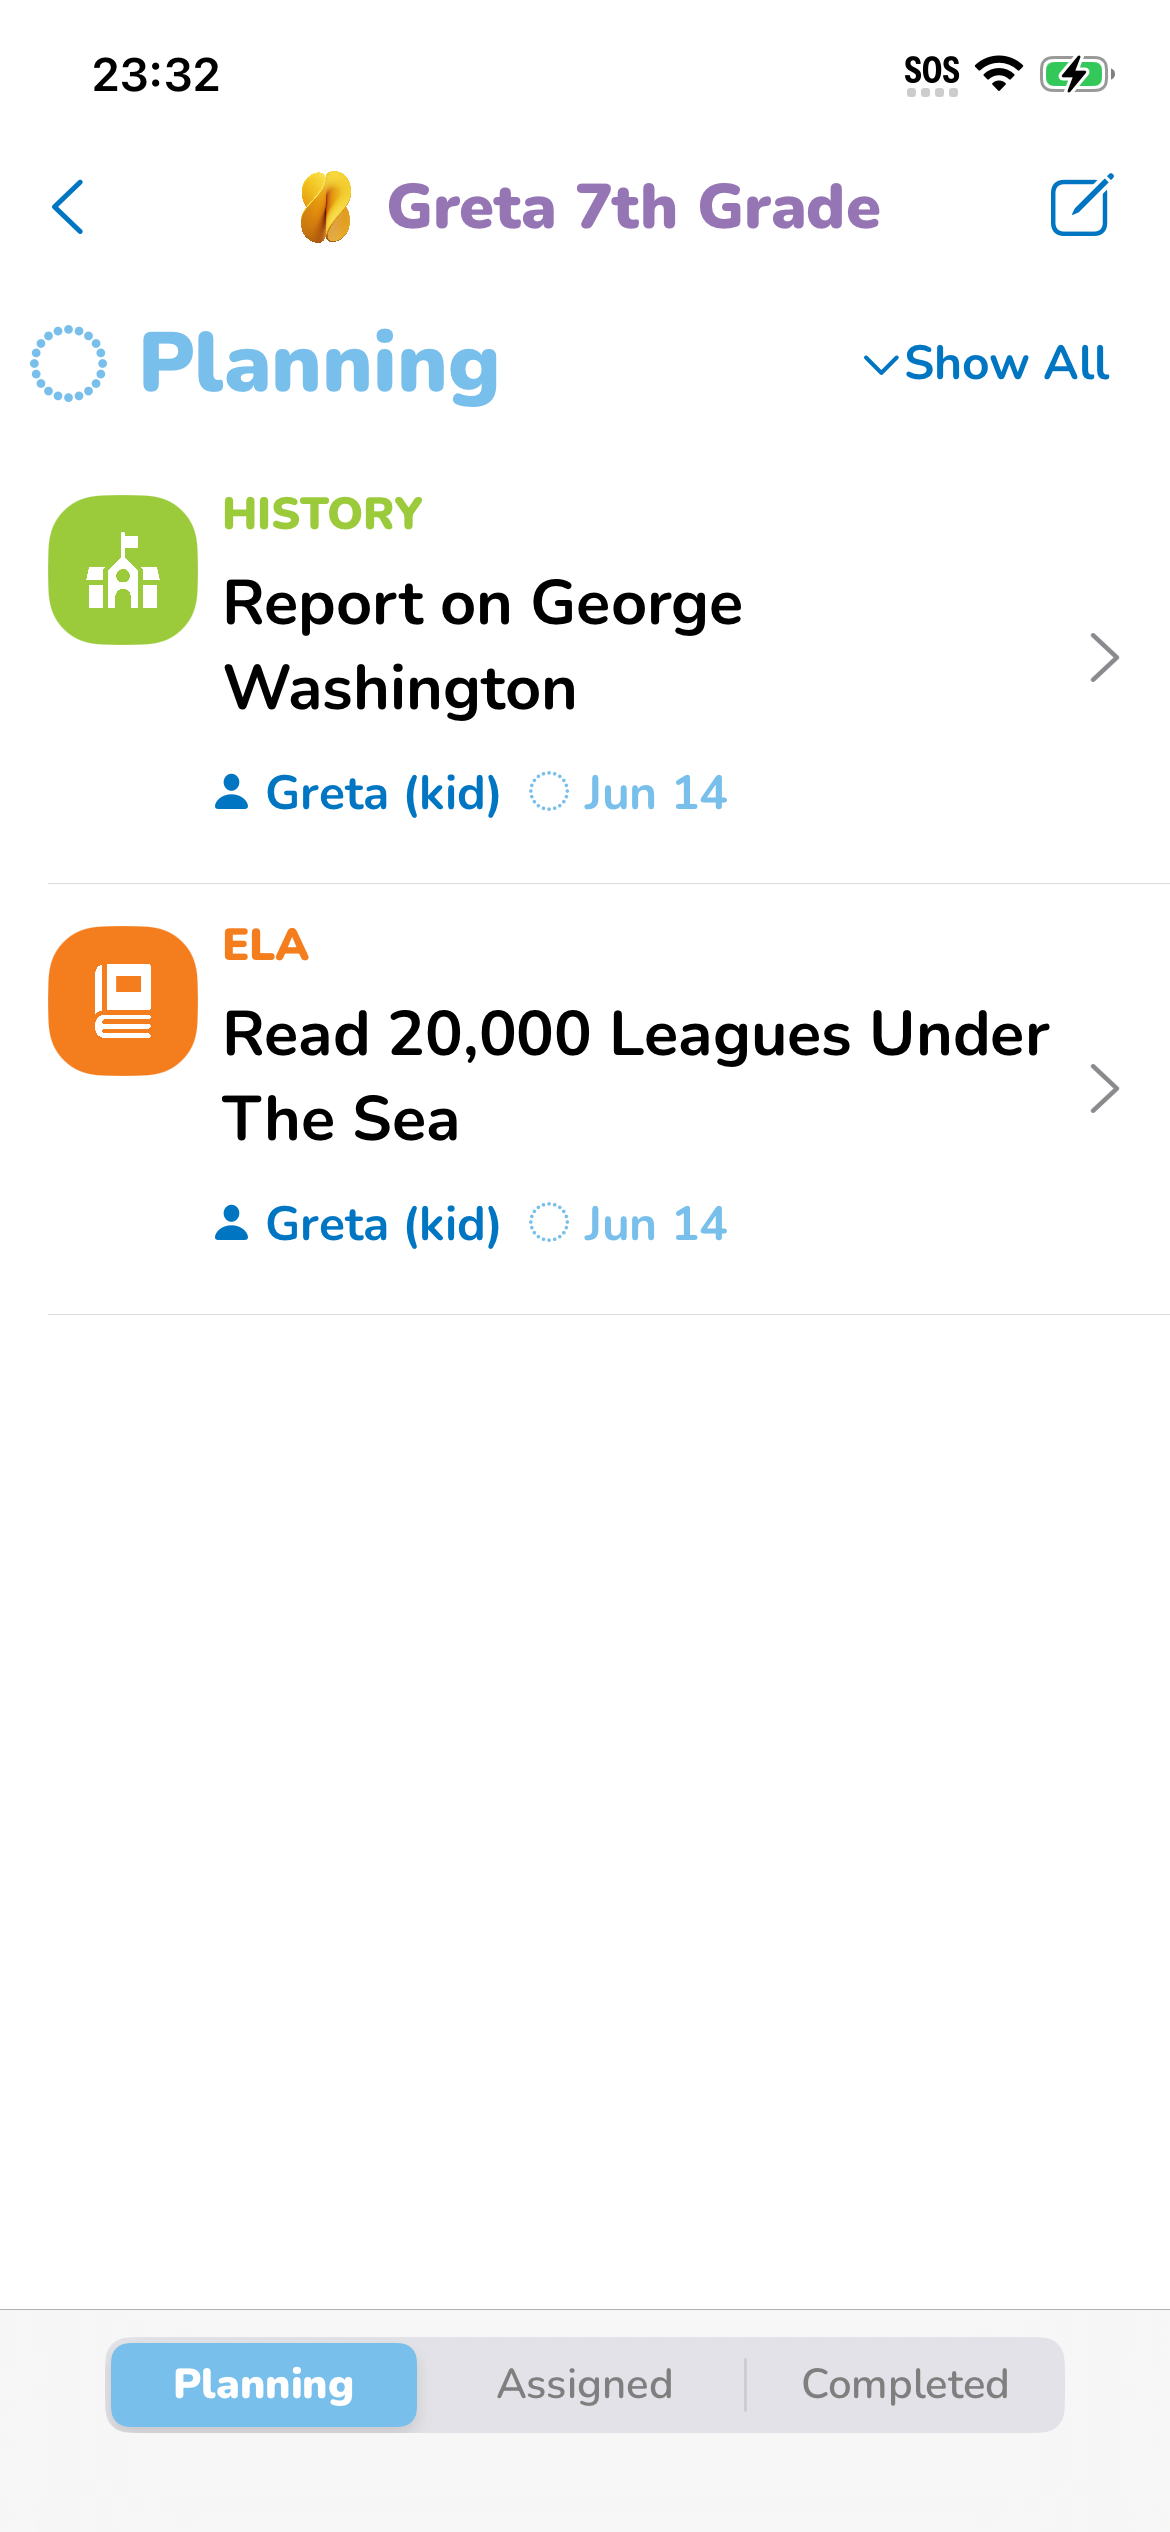
Selecting Planning on the bottom menu will take you to the Planning section, where you can create tasks to be assigned to that member later on.
Tapping on the pencil and square icon on the top left corner will open the Create New Task screen.
Task Creation Back to Top
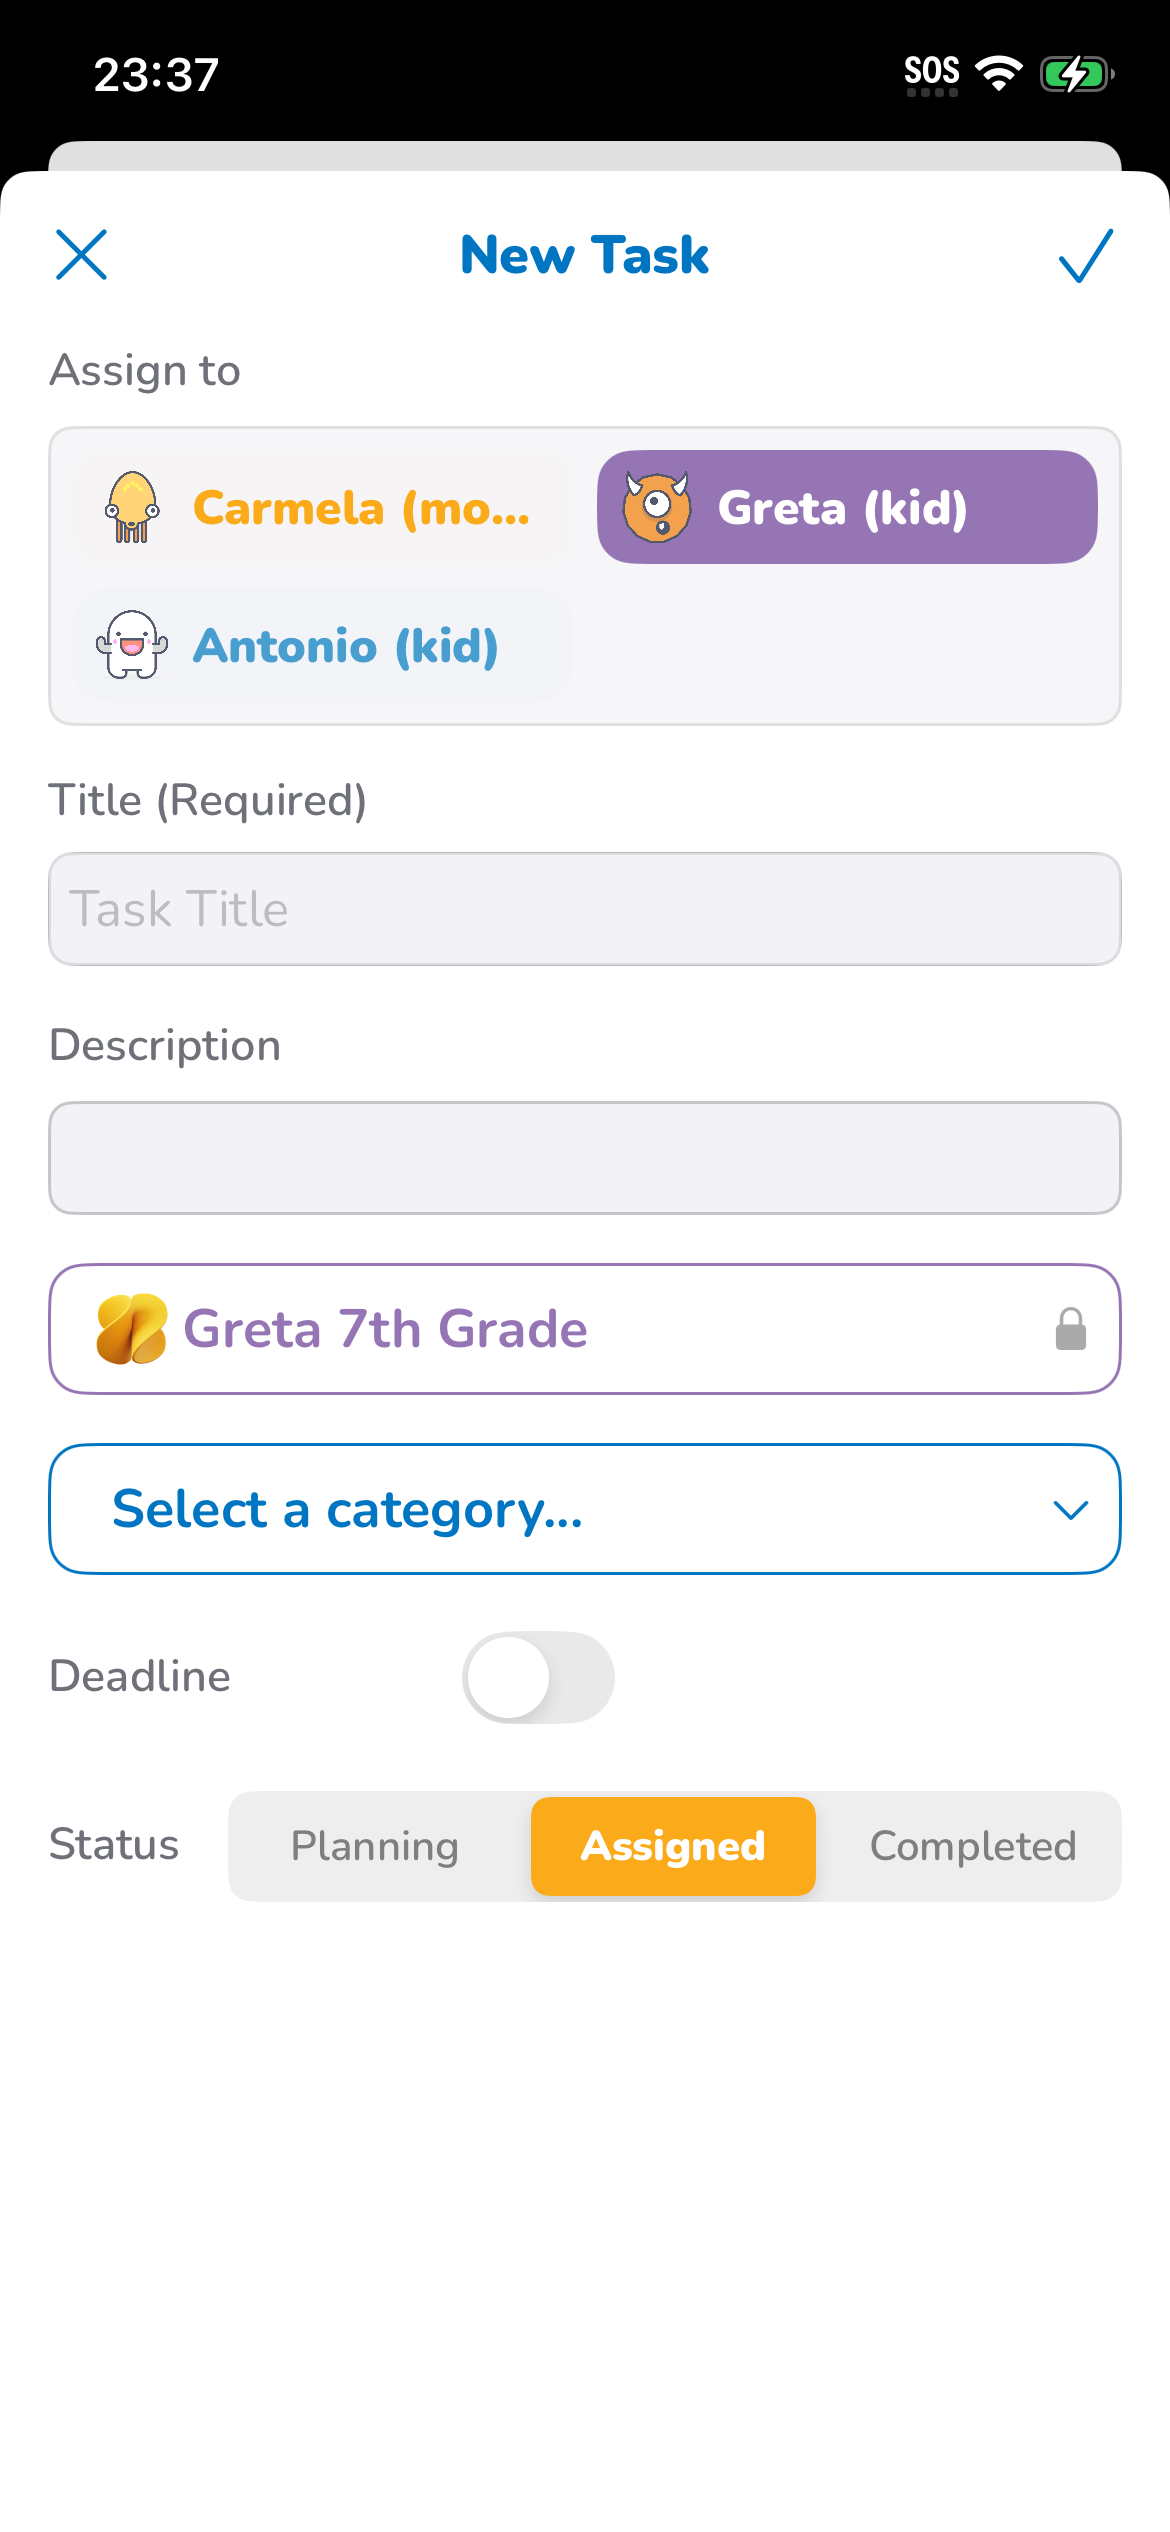
When you create a new task, you can enter title, description (where URLs and links will be automatically recognized and formatted), assigned project, category, and deadline date.
Tasks can be created in one of the following statuses:
- Planning: assign the task in the future
- Assigned: assign now to a member
- Completed: finished work.
In some cases, you can also assing the task to more than one member at a time.
Categories Back to Top
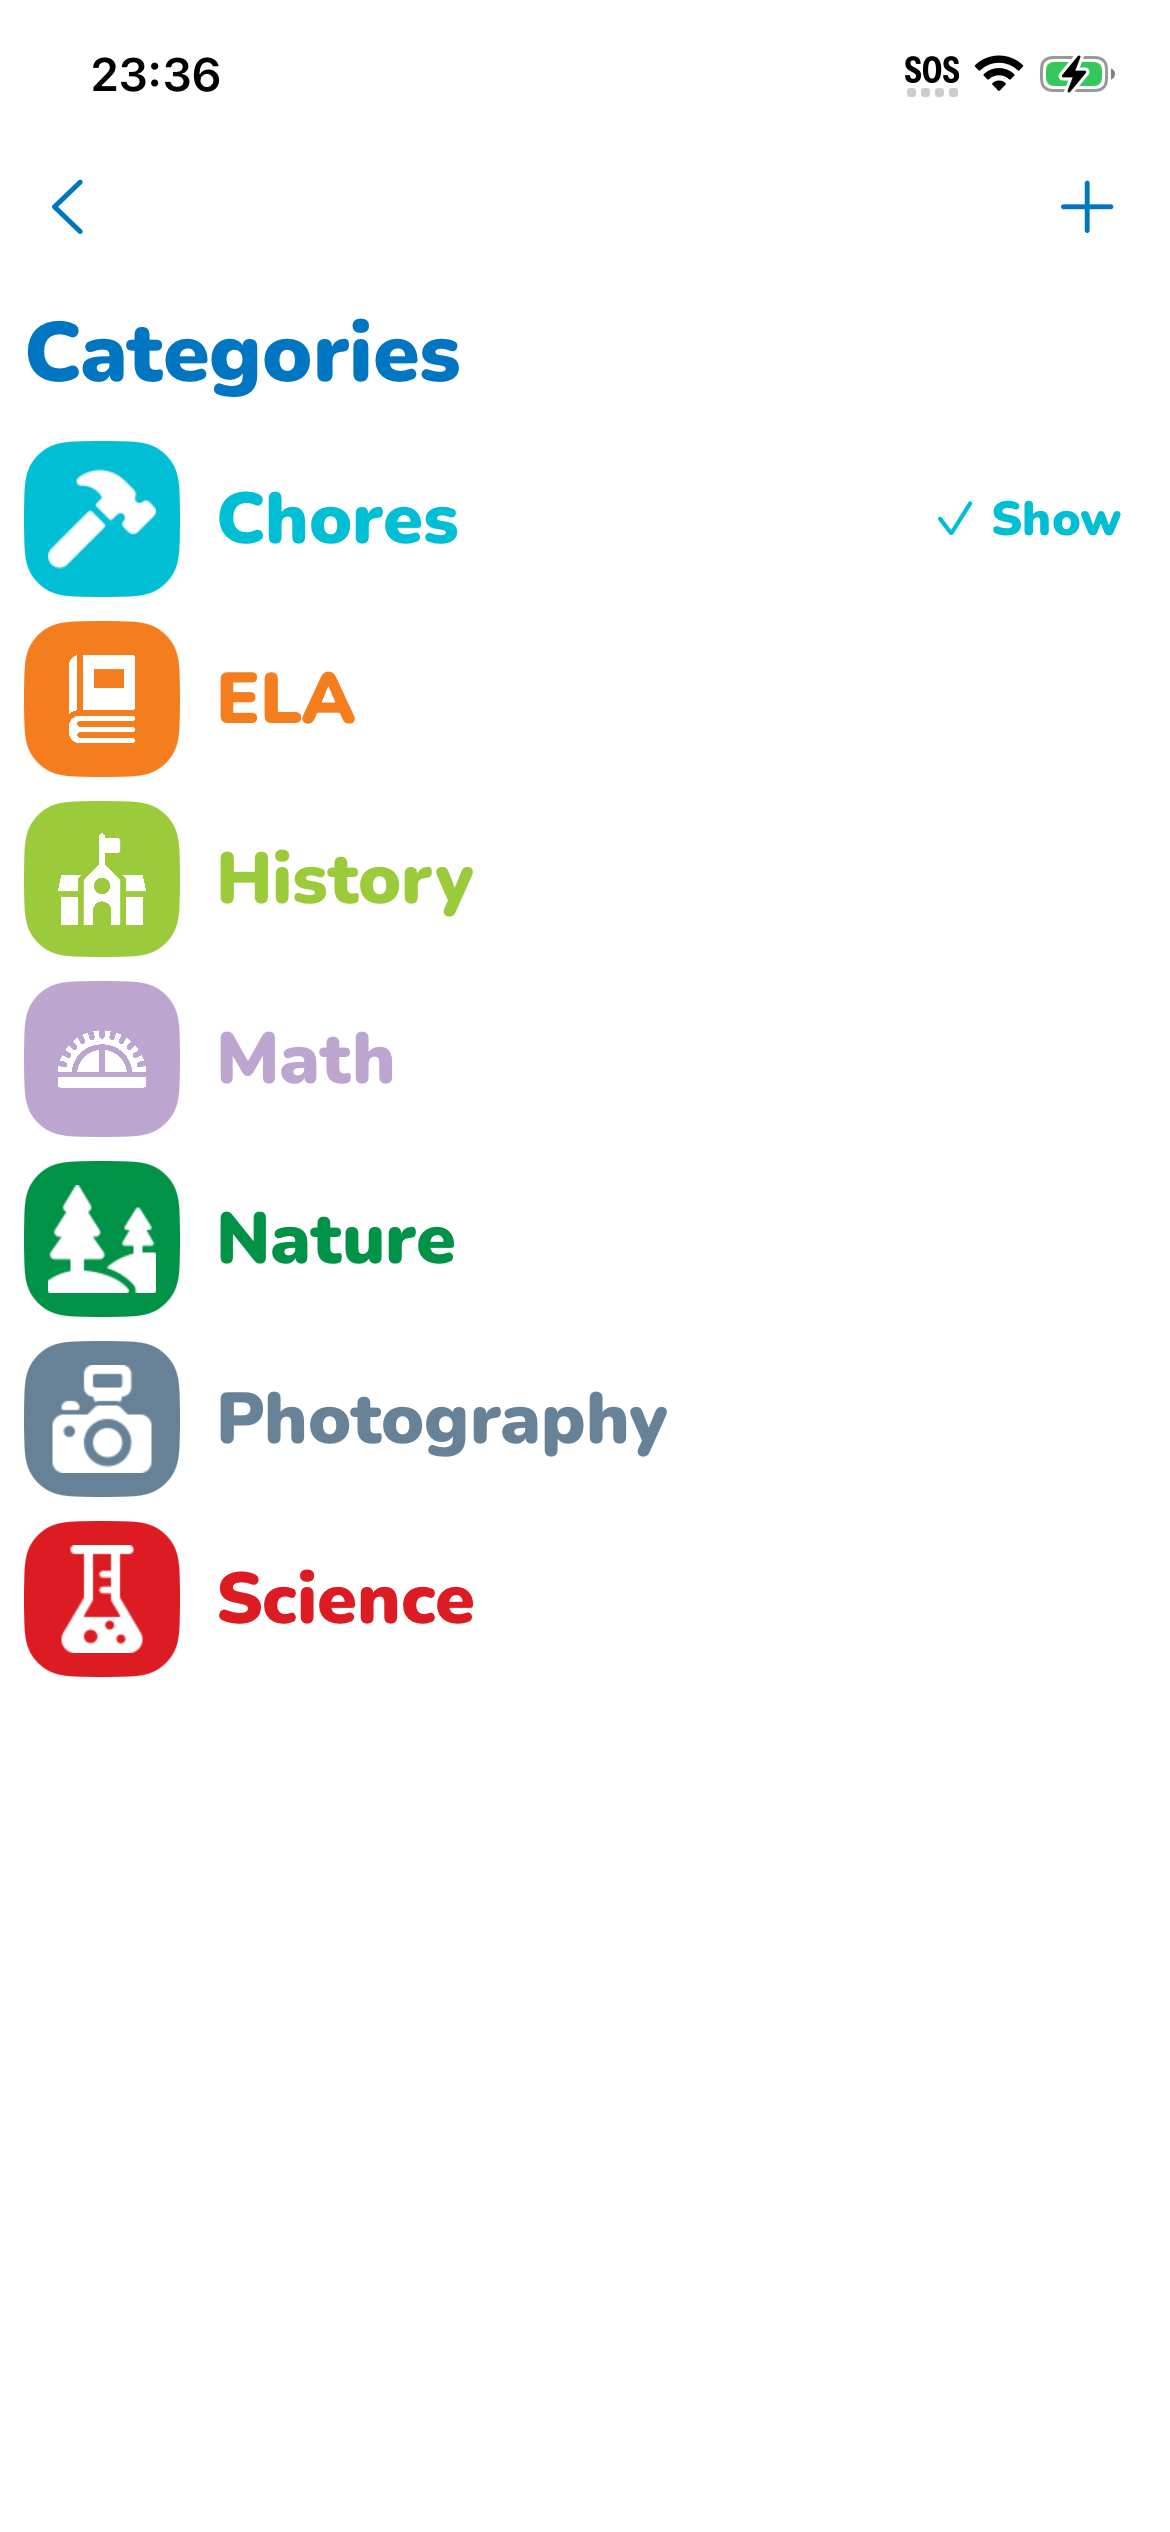
In the Categories screen, located in the Service menu (the gear icon top left in the main screen), you can create categories with a name, a color, and an icon.
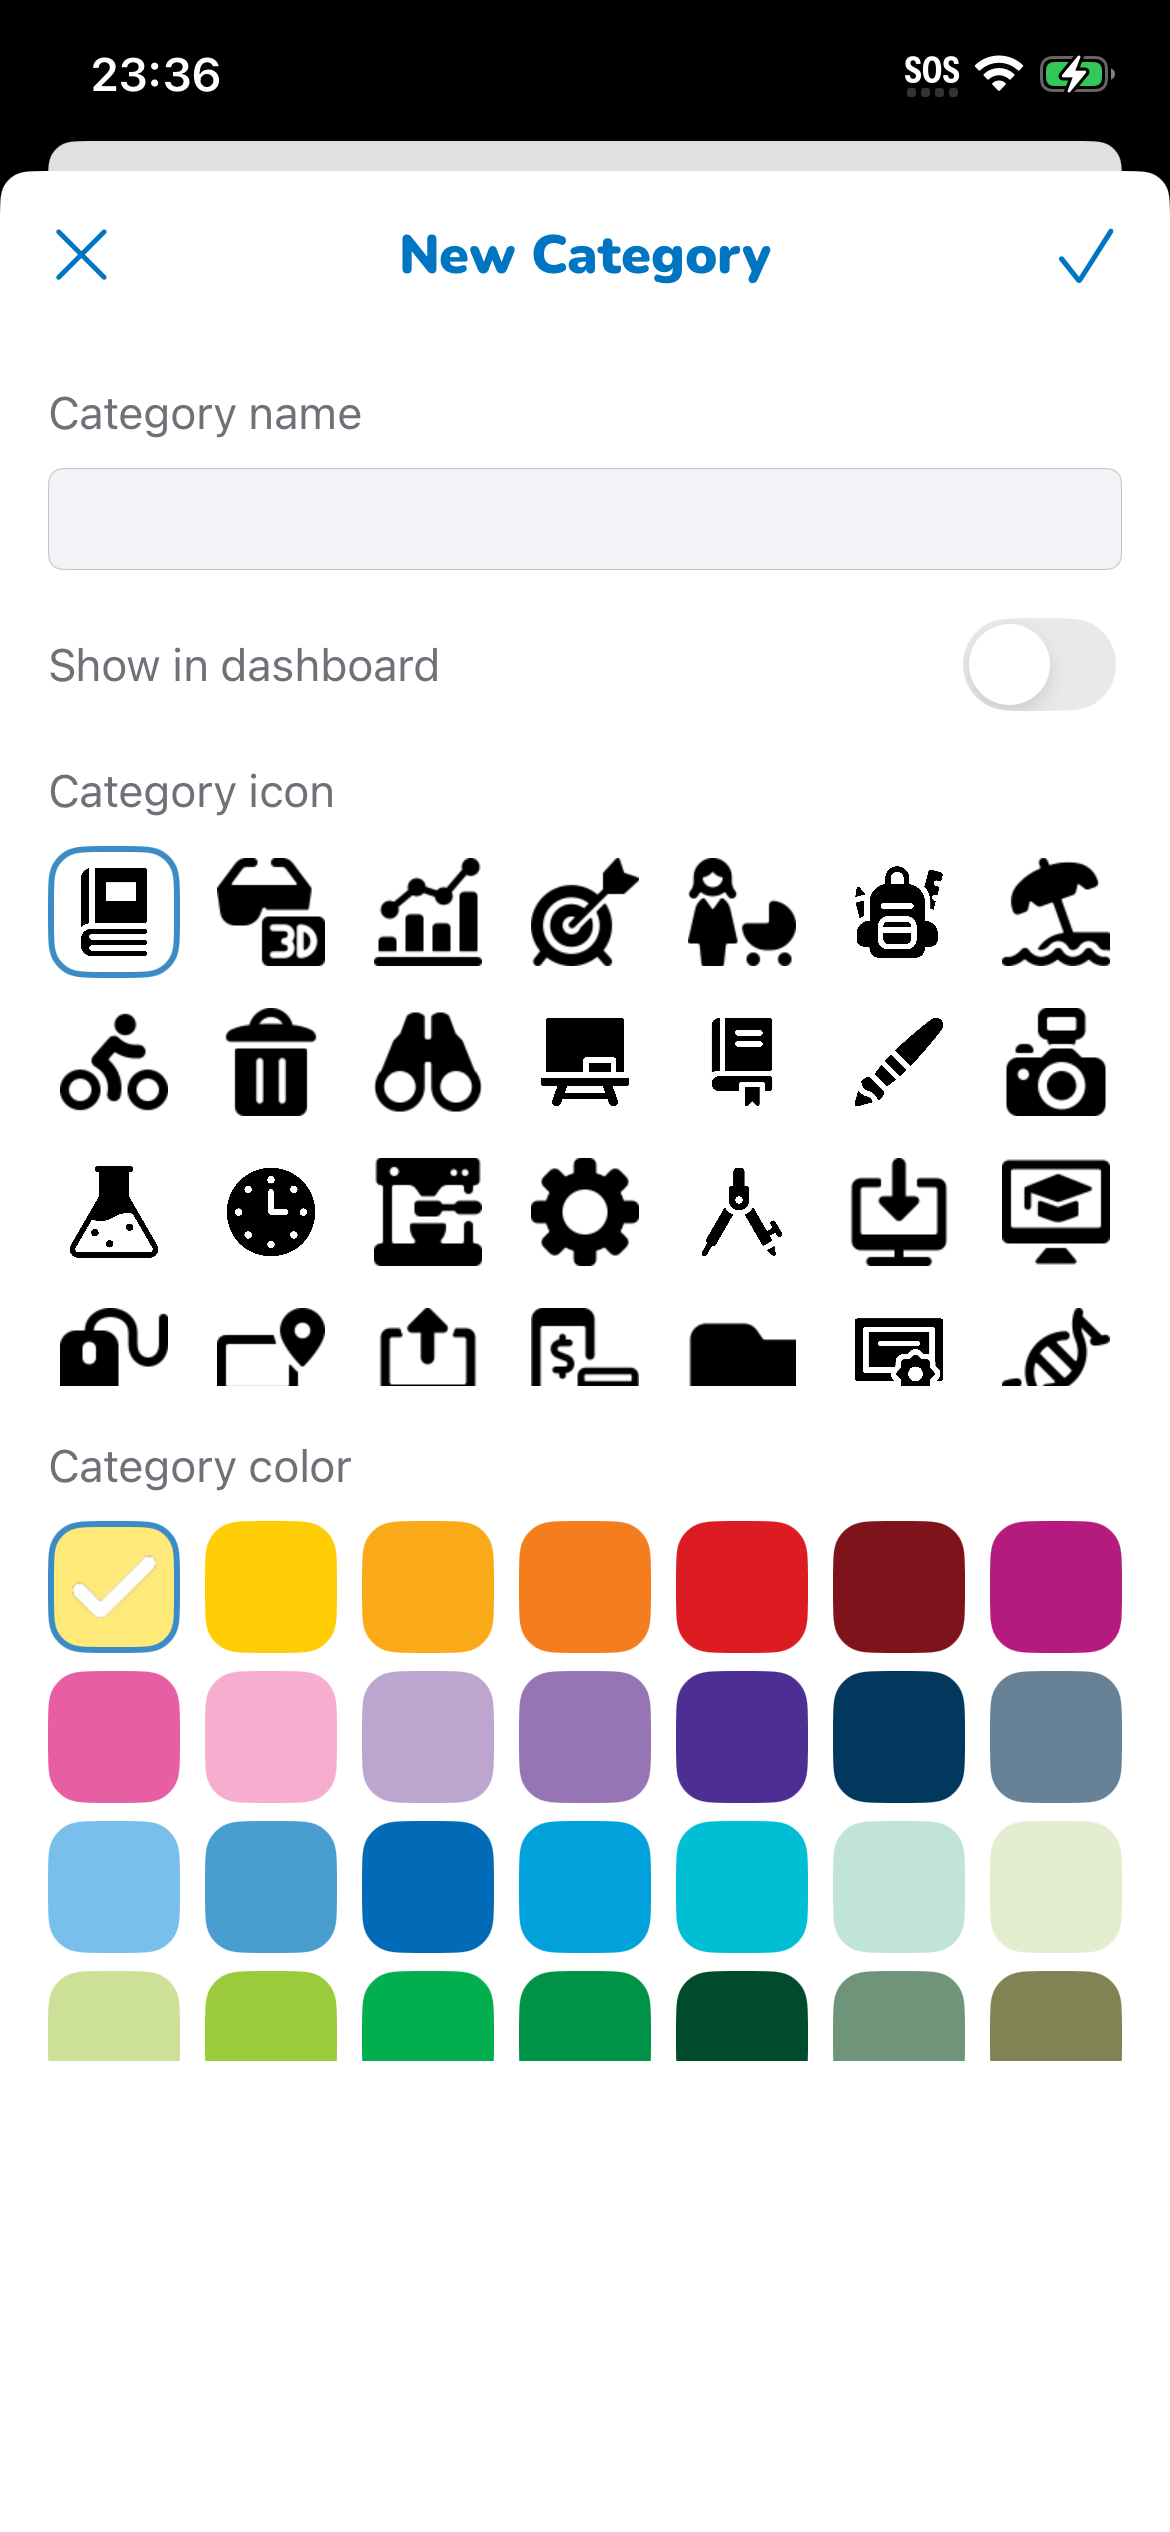
These Categories can then be added to the tasks, and presented with their icon and color so anyone can immediately recognize which category represents the task.
Task Management Back to Top
In any of the Task Views, you can swipe to the right to change the task status between 'Planning', 'Assigned', and 'Completed'
Students can also mark tasks as 'Done' when they finish. You'll be then notified.
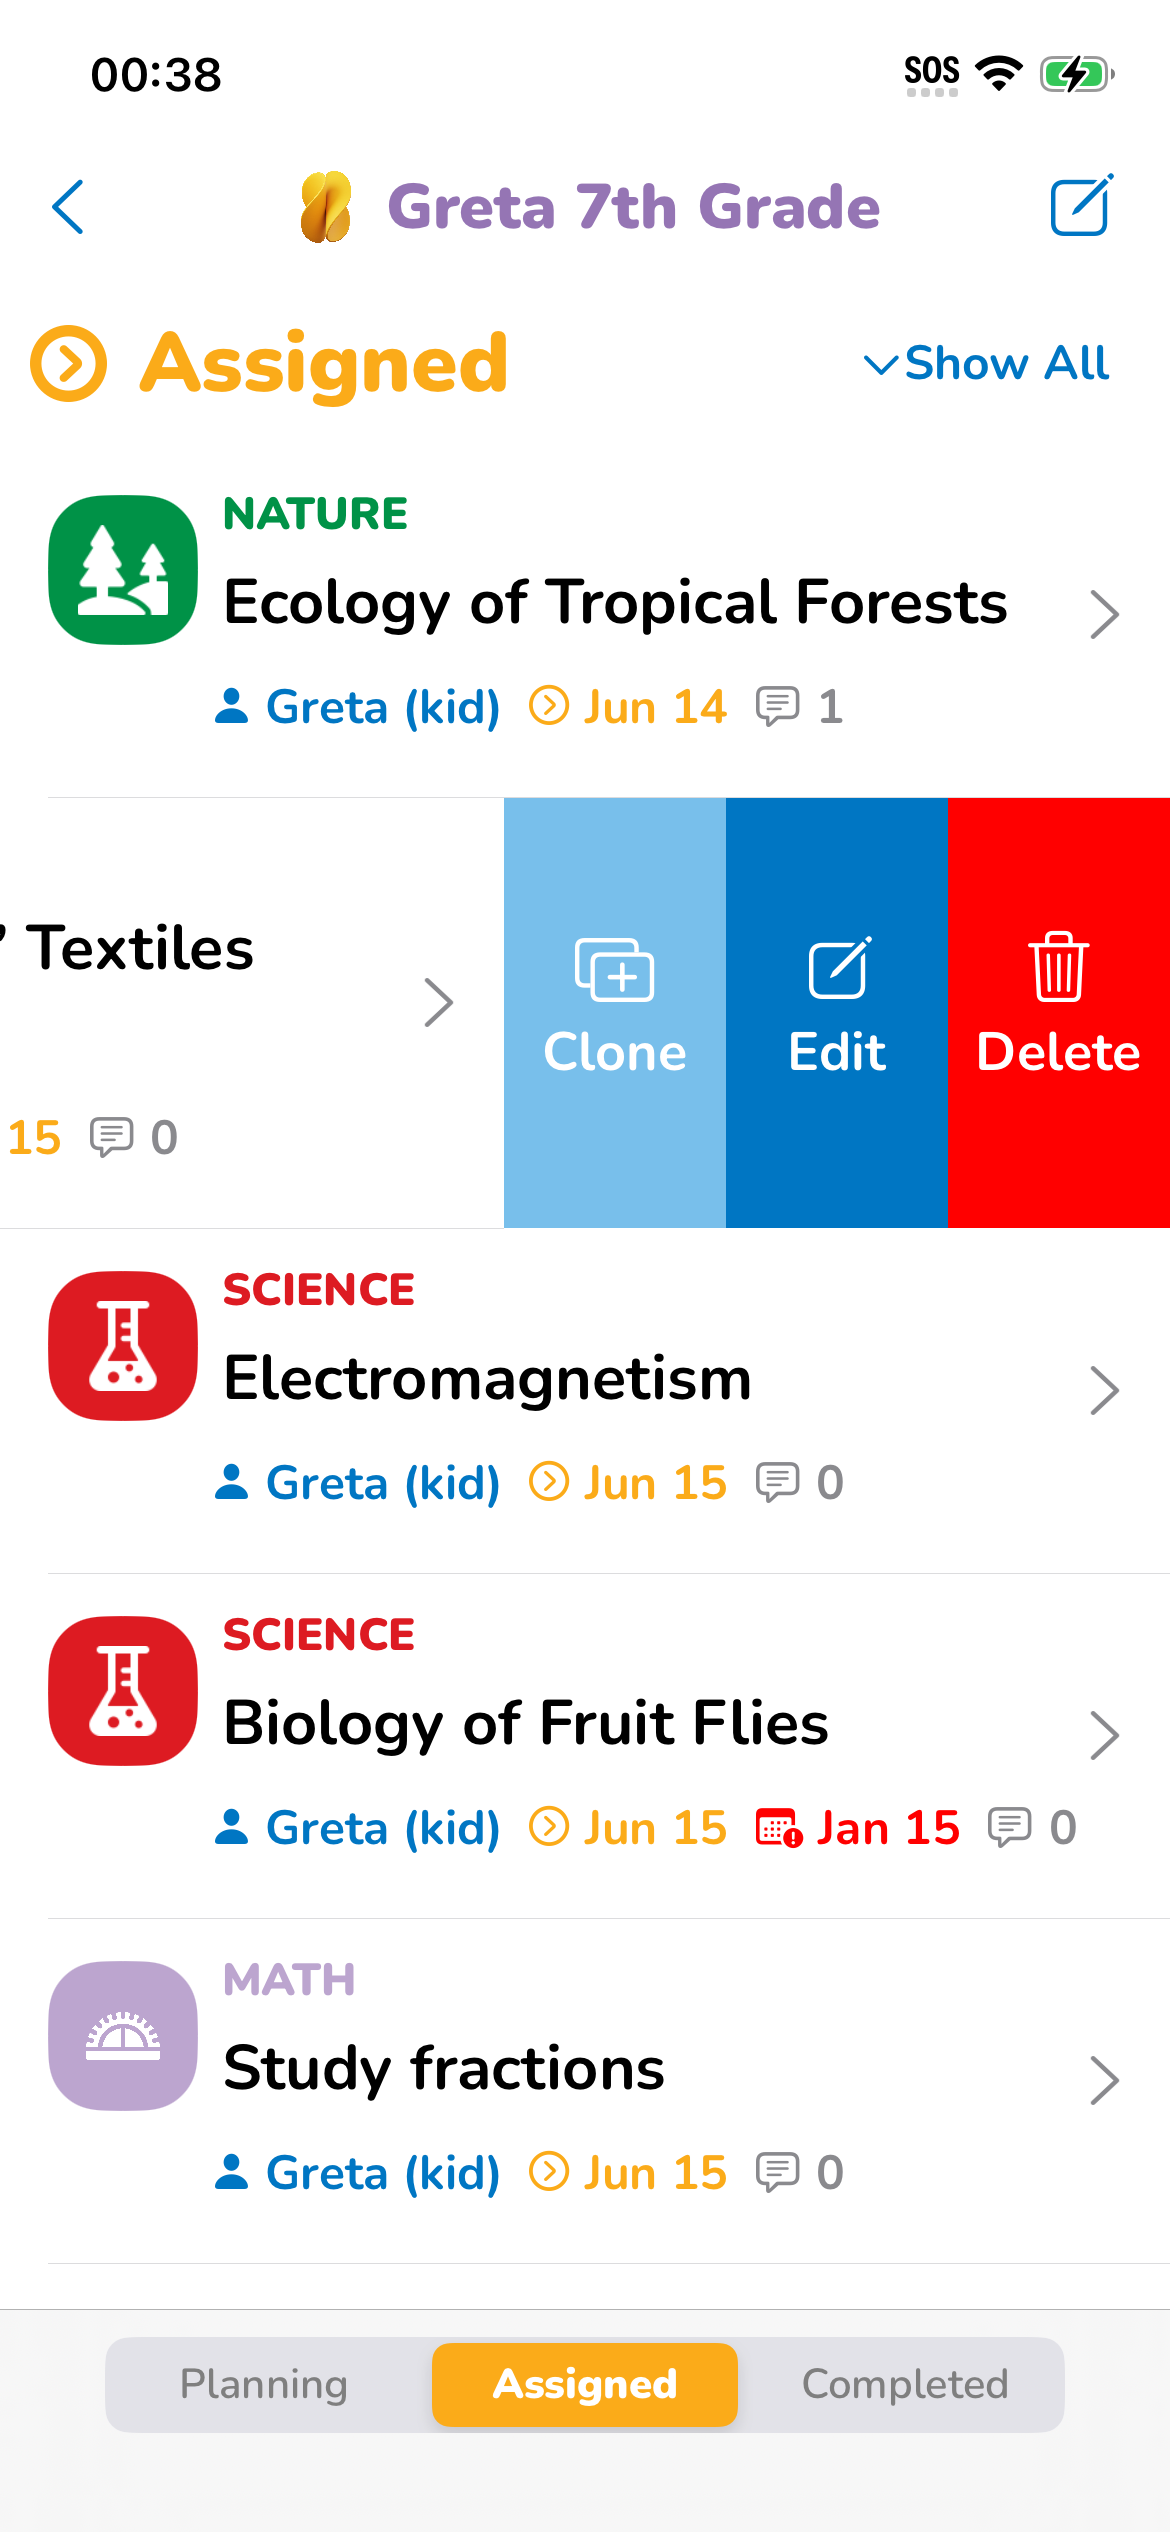
Swiping to the left will allow you to edit, clone (automatically create an identical one), or delete the task.
Tapping on a task will take you to the Task view screen.
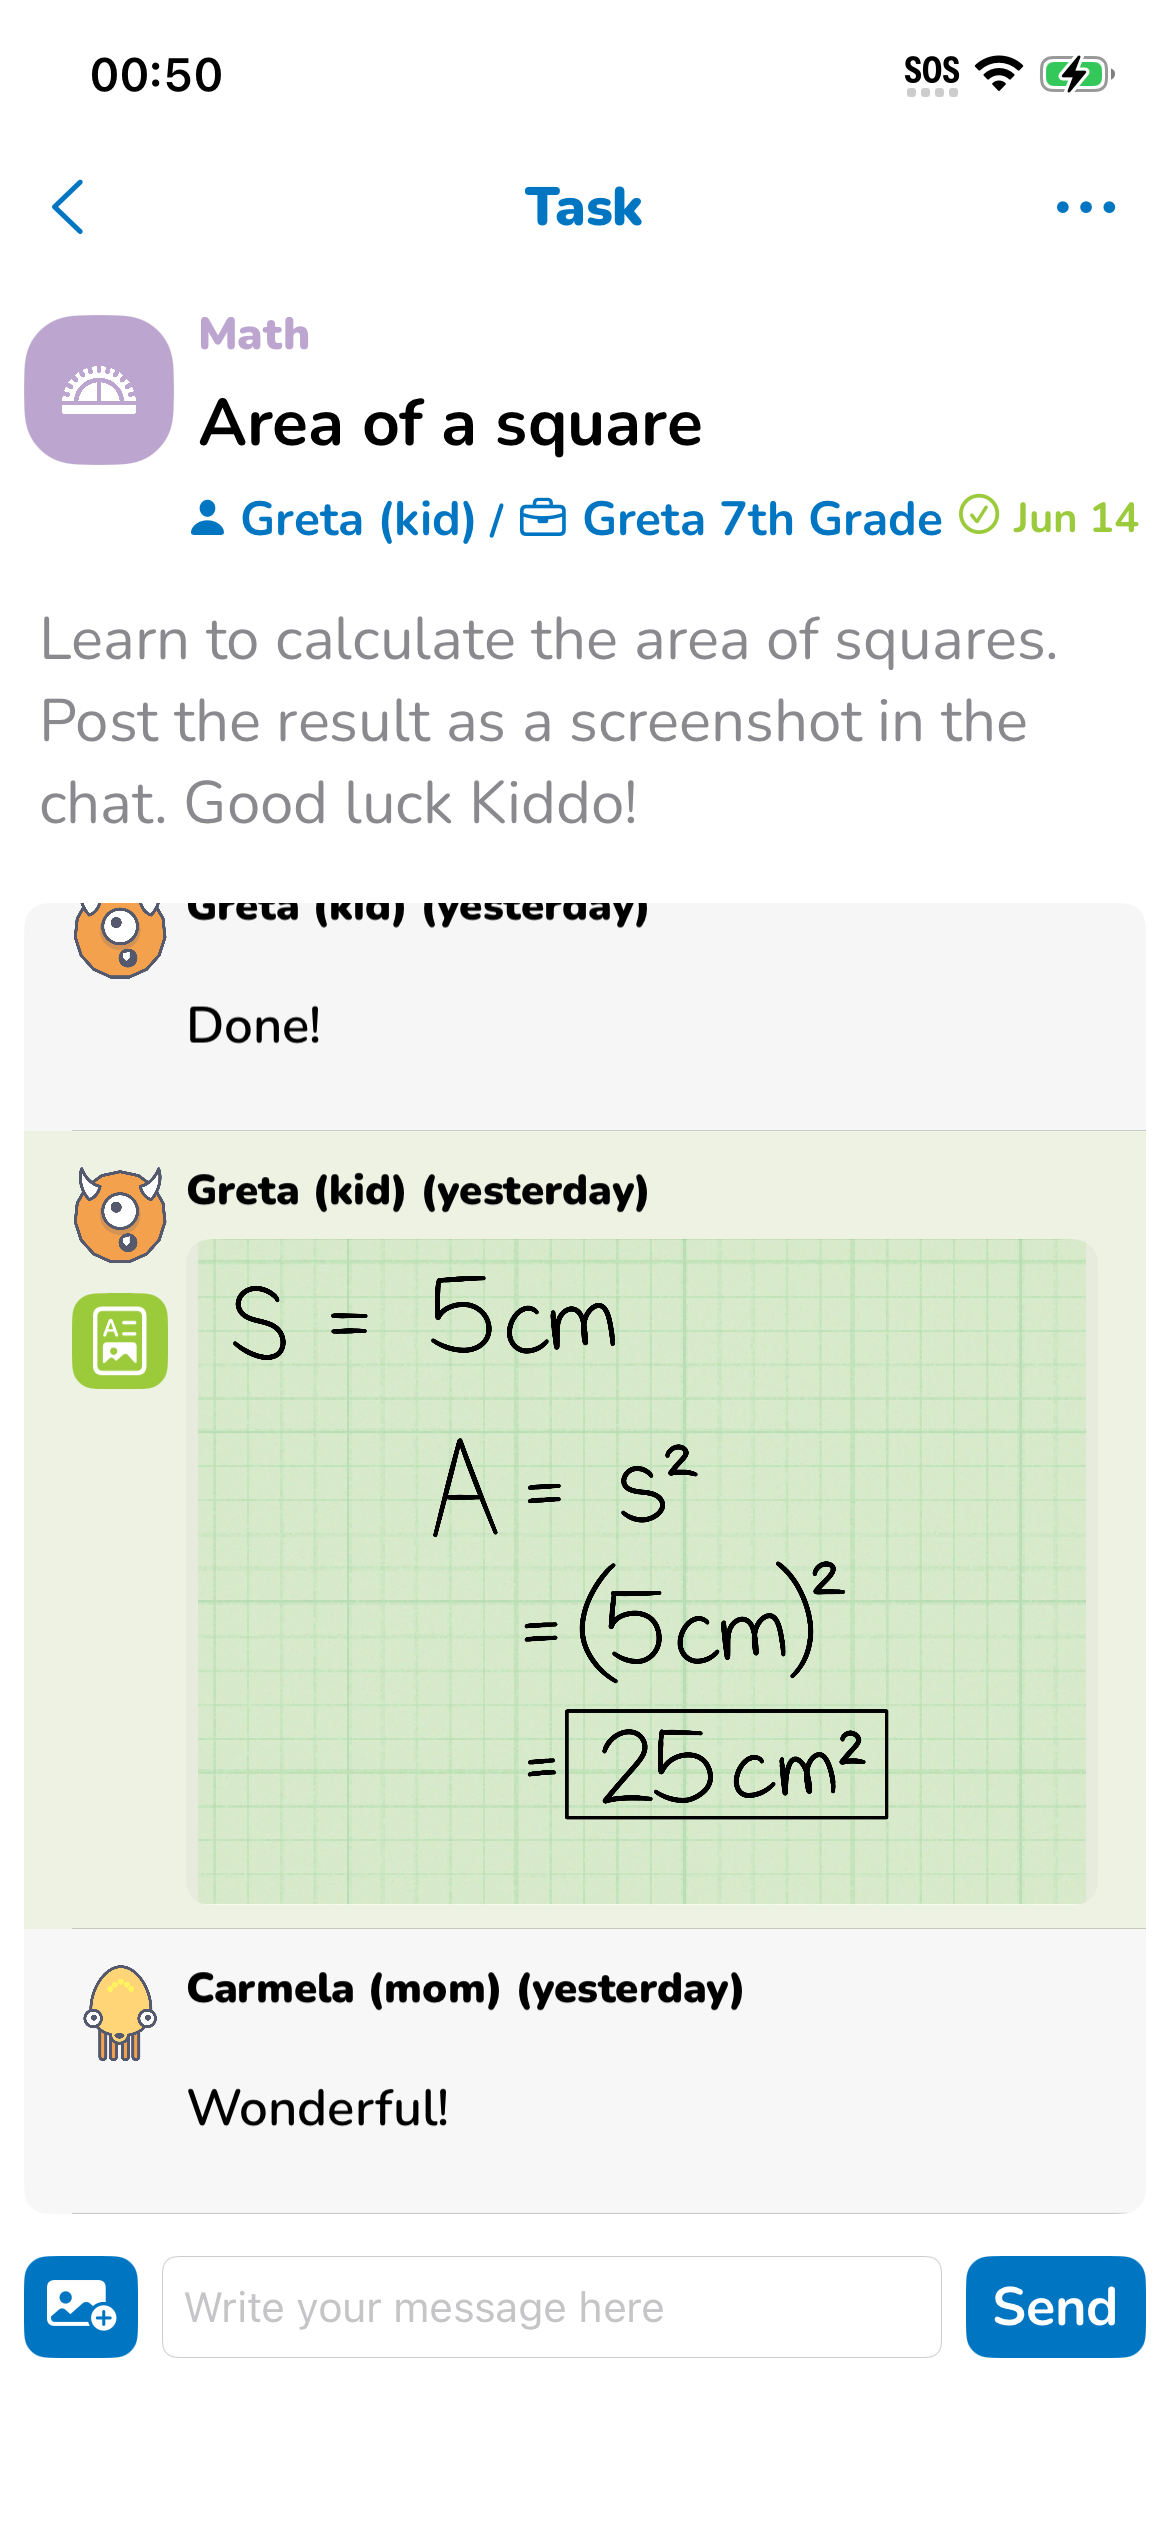
In this view you'll have all the task info, plus a chat view where you can chat with other members about the task.
Chats Back to Top
In the chat view, you can chat with other members, add images* from your photos, take a photo and upload* it, and add files*.
Tapping on the 'Report Icon' button on Images and Files in the chat allows you to add the images to a report.
Added images and files* will be automatically added to any Report PDF that includes the task.
*Requires a Cloud Plan subscription due to file storage expenses.
Report Back to Top
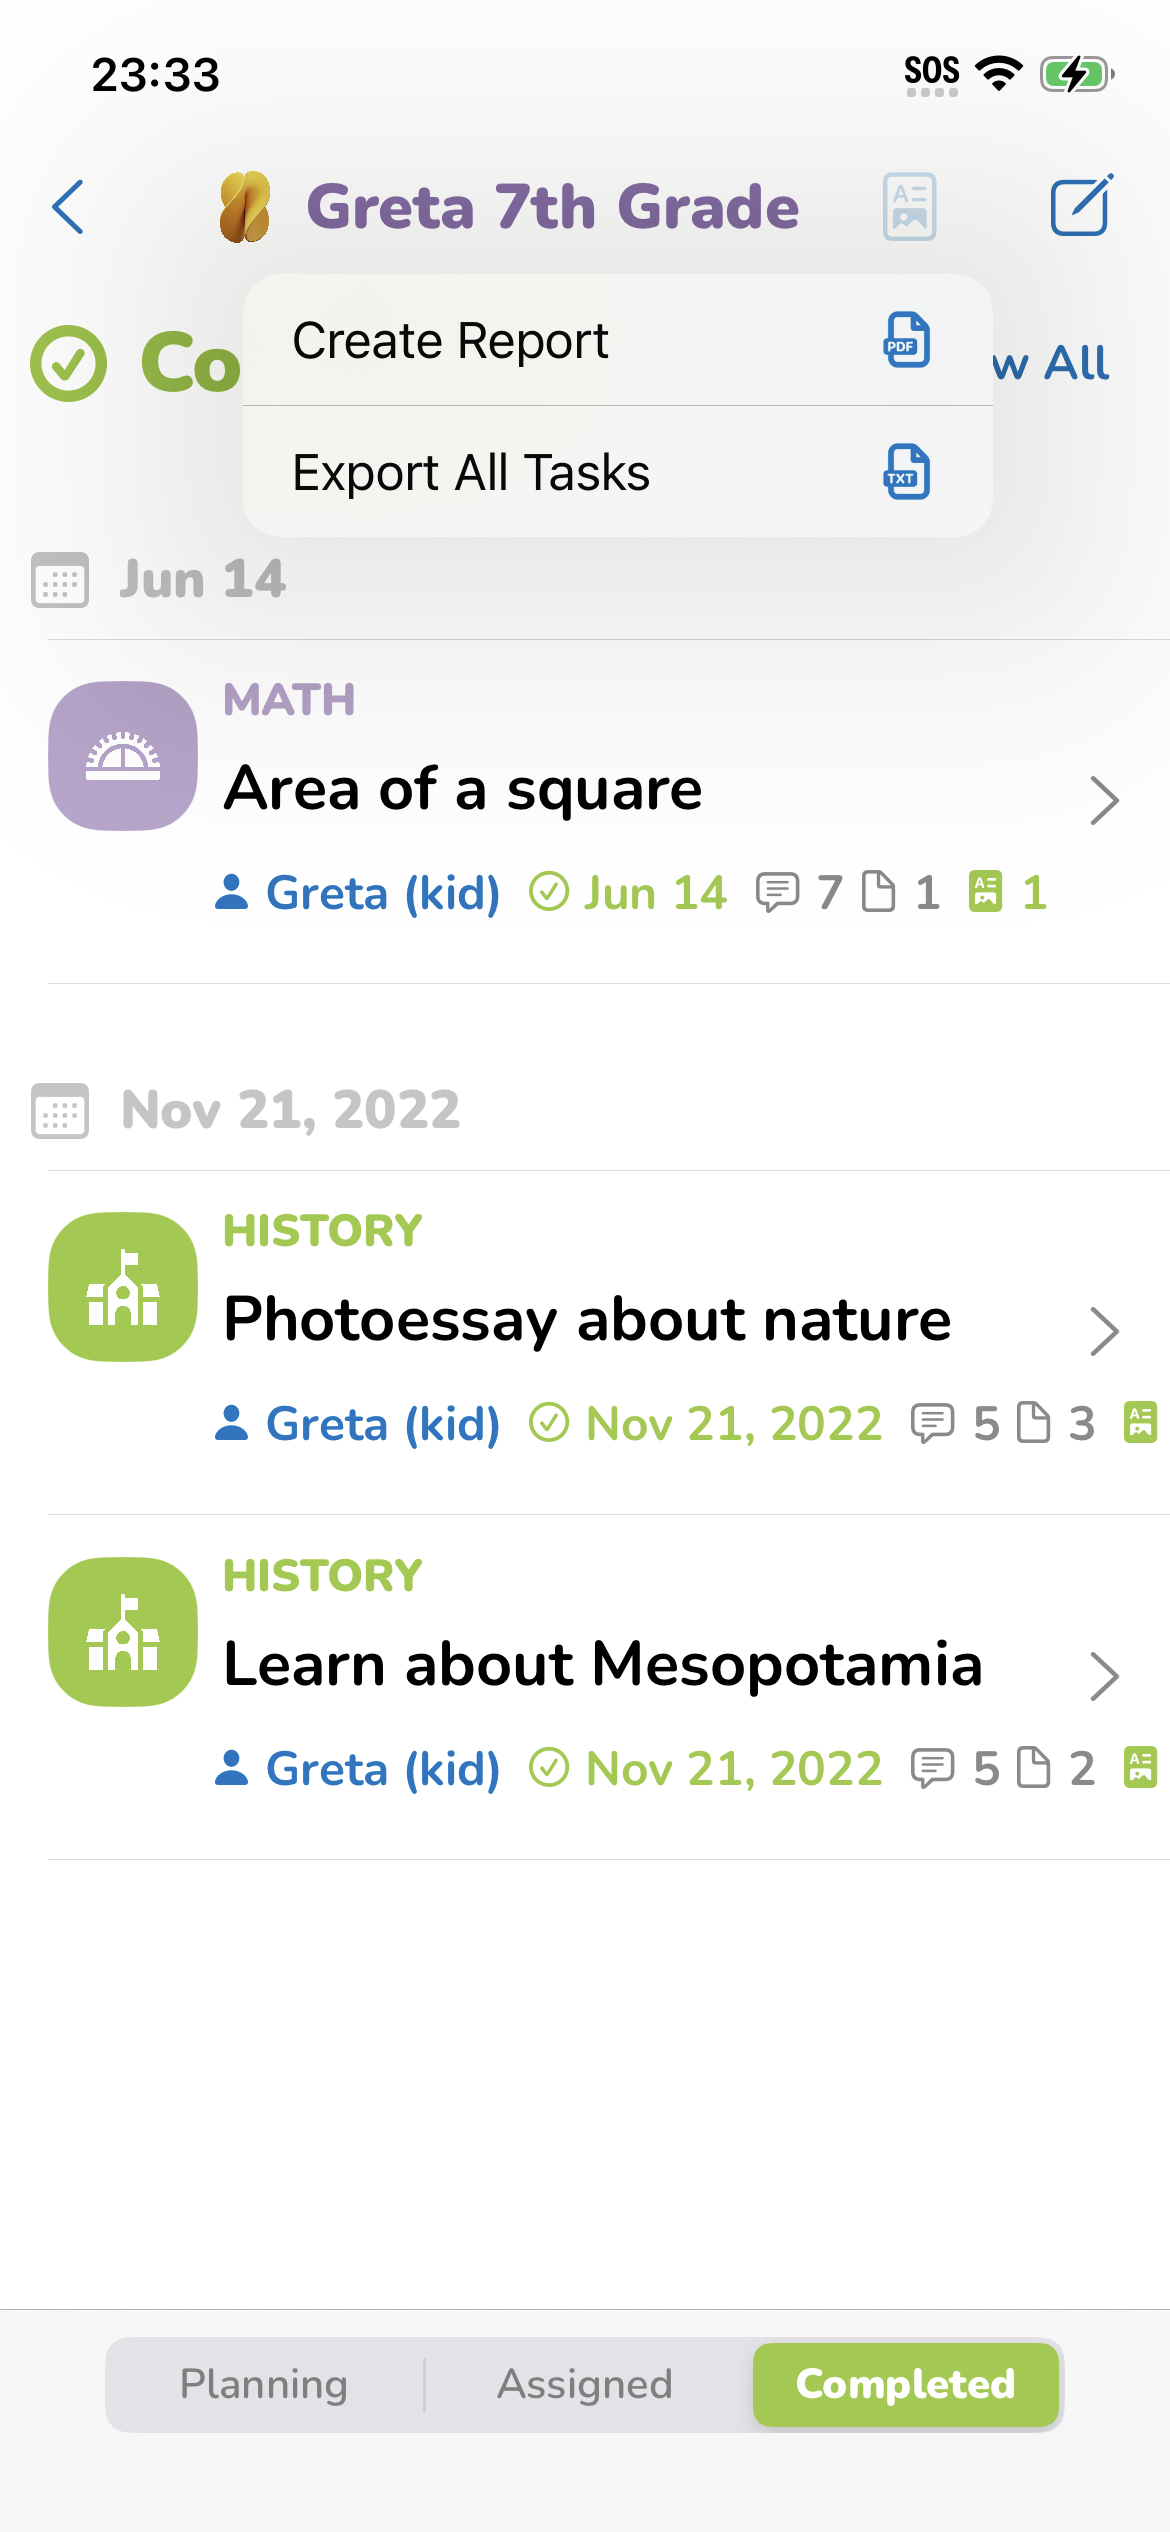
The Completed Tasks section will contain all your completed tasks.
Here you can also tap on the 'Report Icon' button top right and start creating a Report.
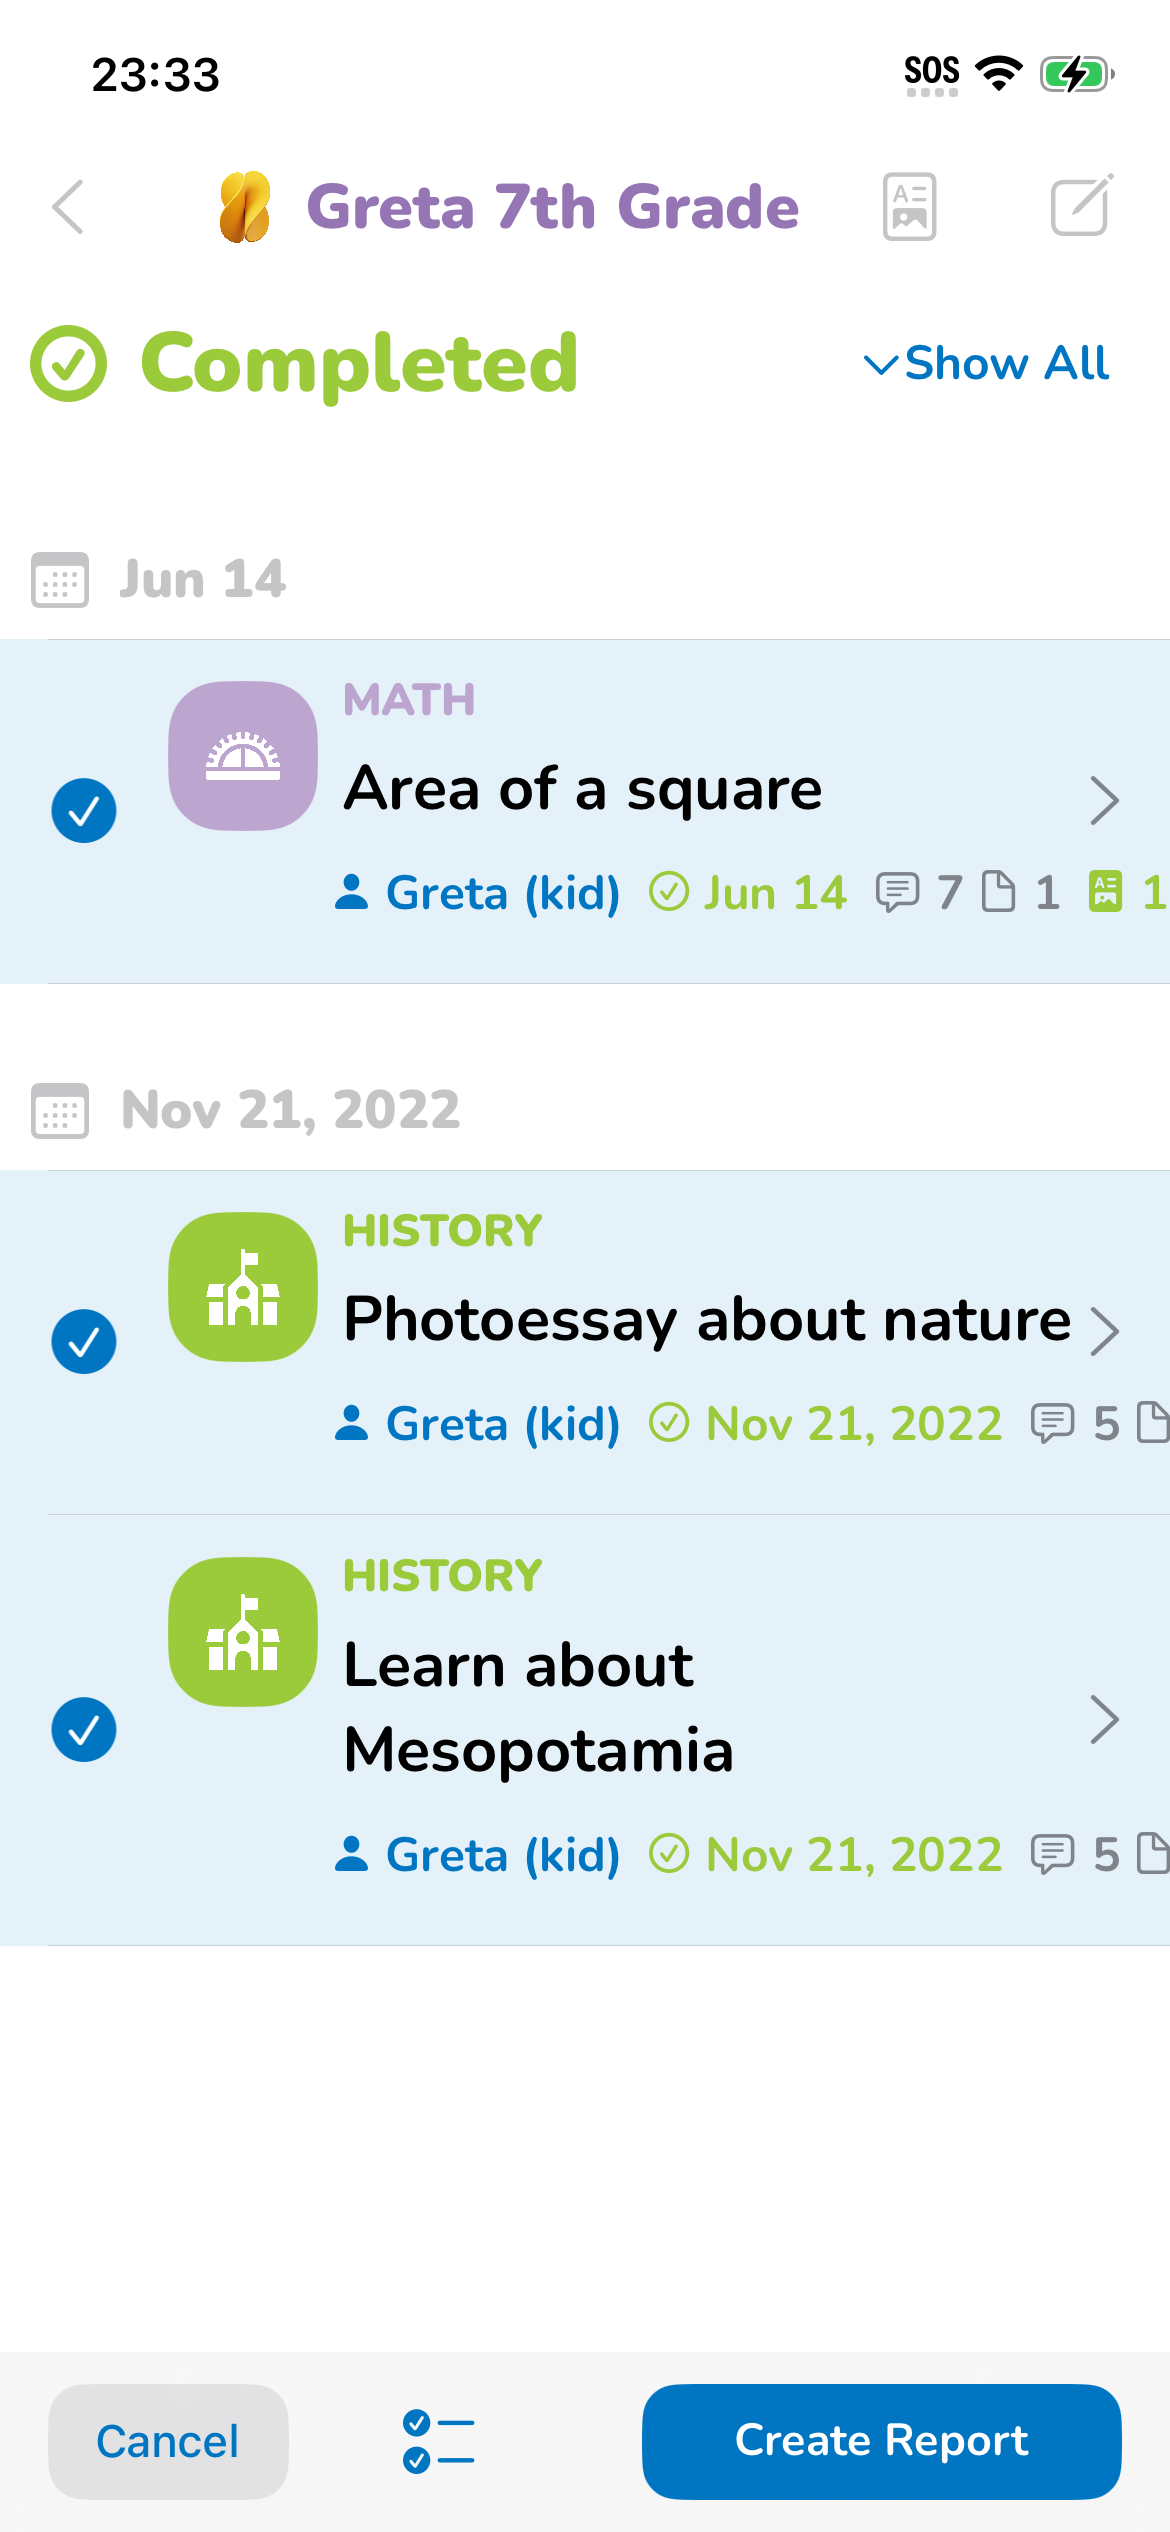
Once you tap the Report button, you'll be able to select all the tasks you want to be added to your report.
When you tap to add a task, a checkmark will show the selected task.
Once you have selected all the tasks you want to add to the Report, tap on the 'Create Report' button on the toolbar.
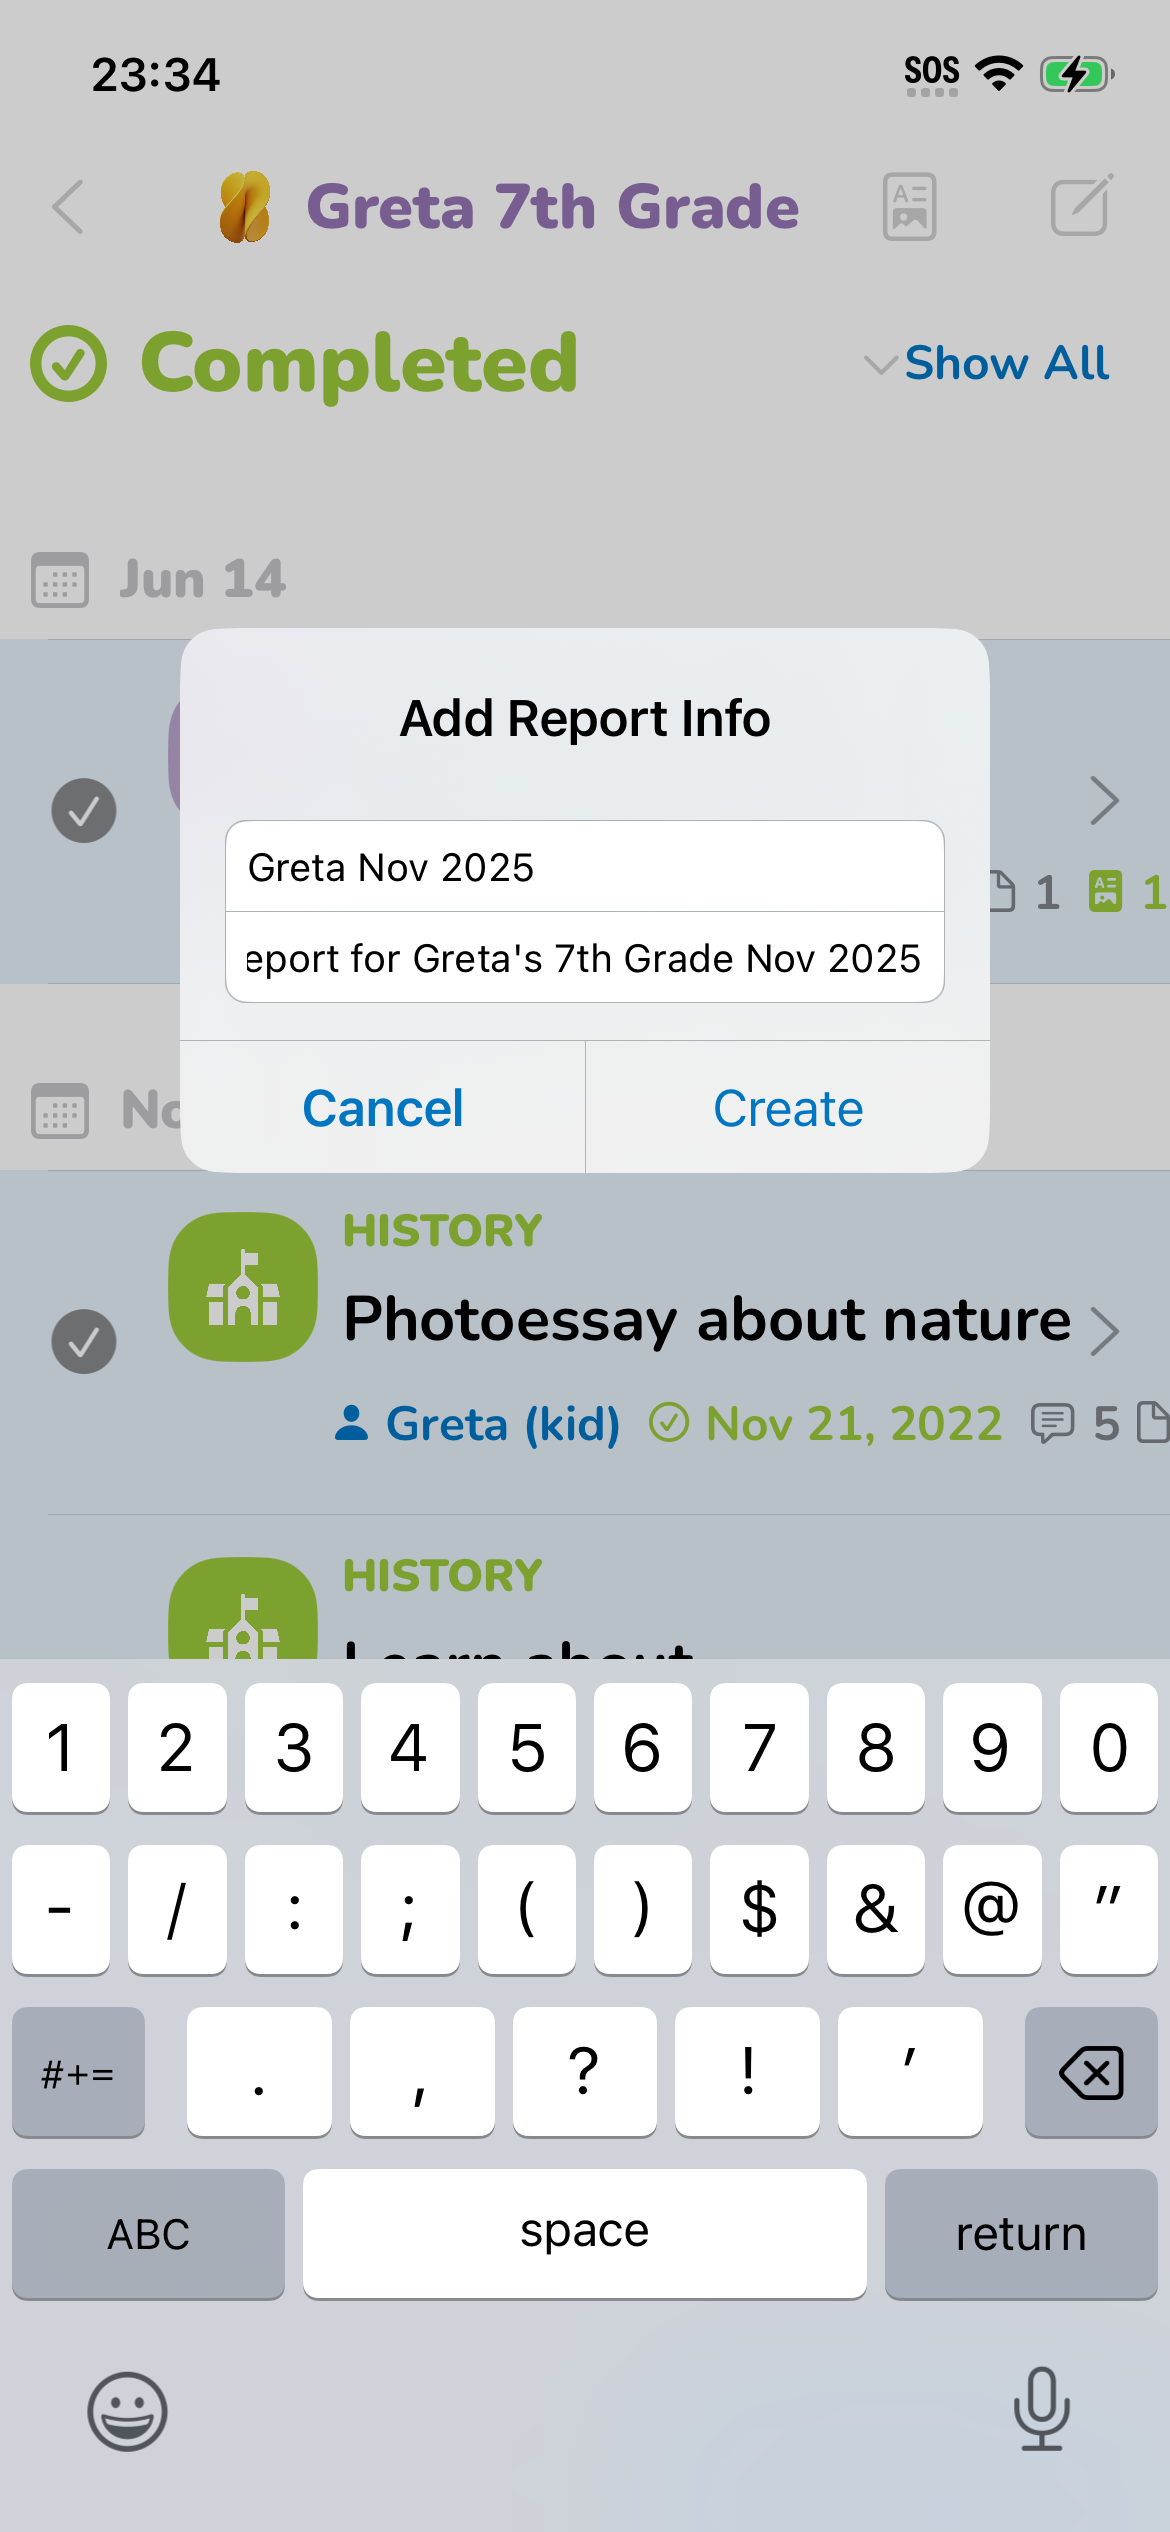
You'll be prompted to add a report title and a description (both are optional).
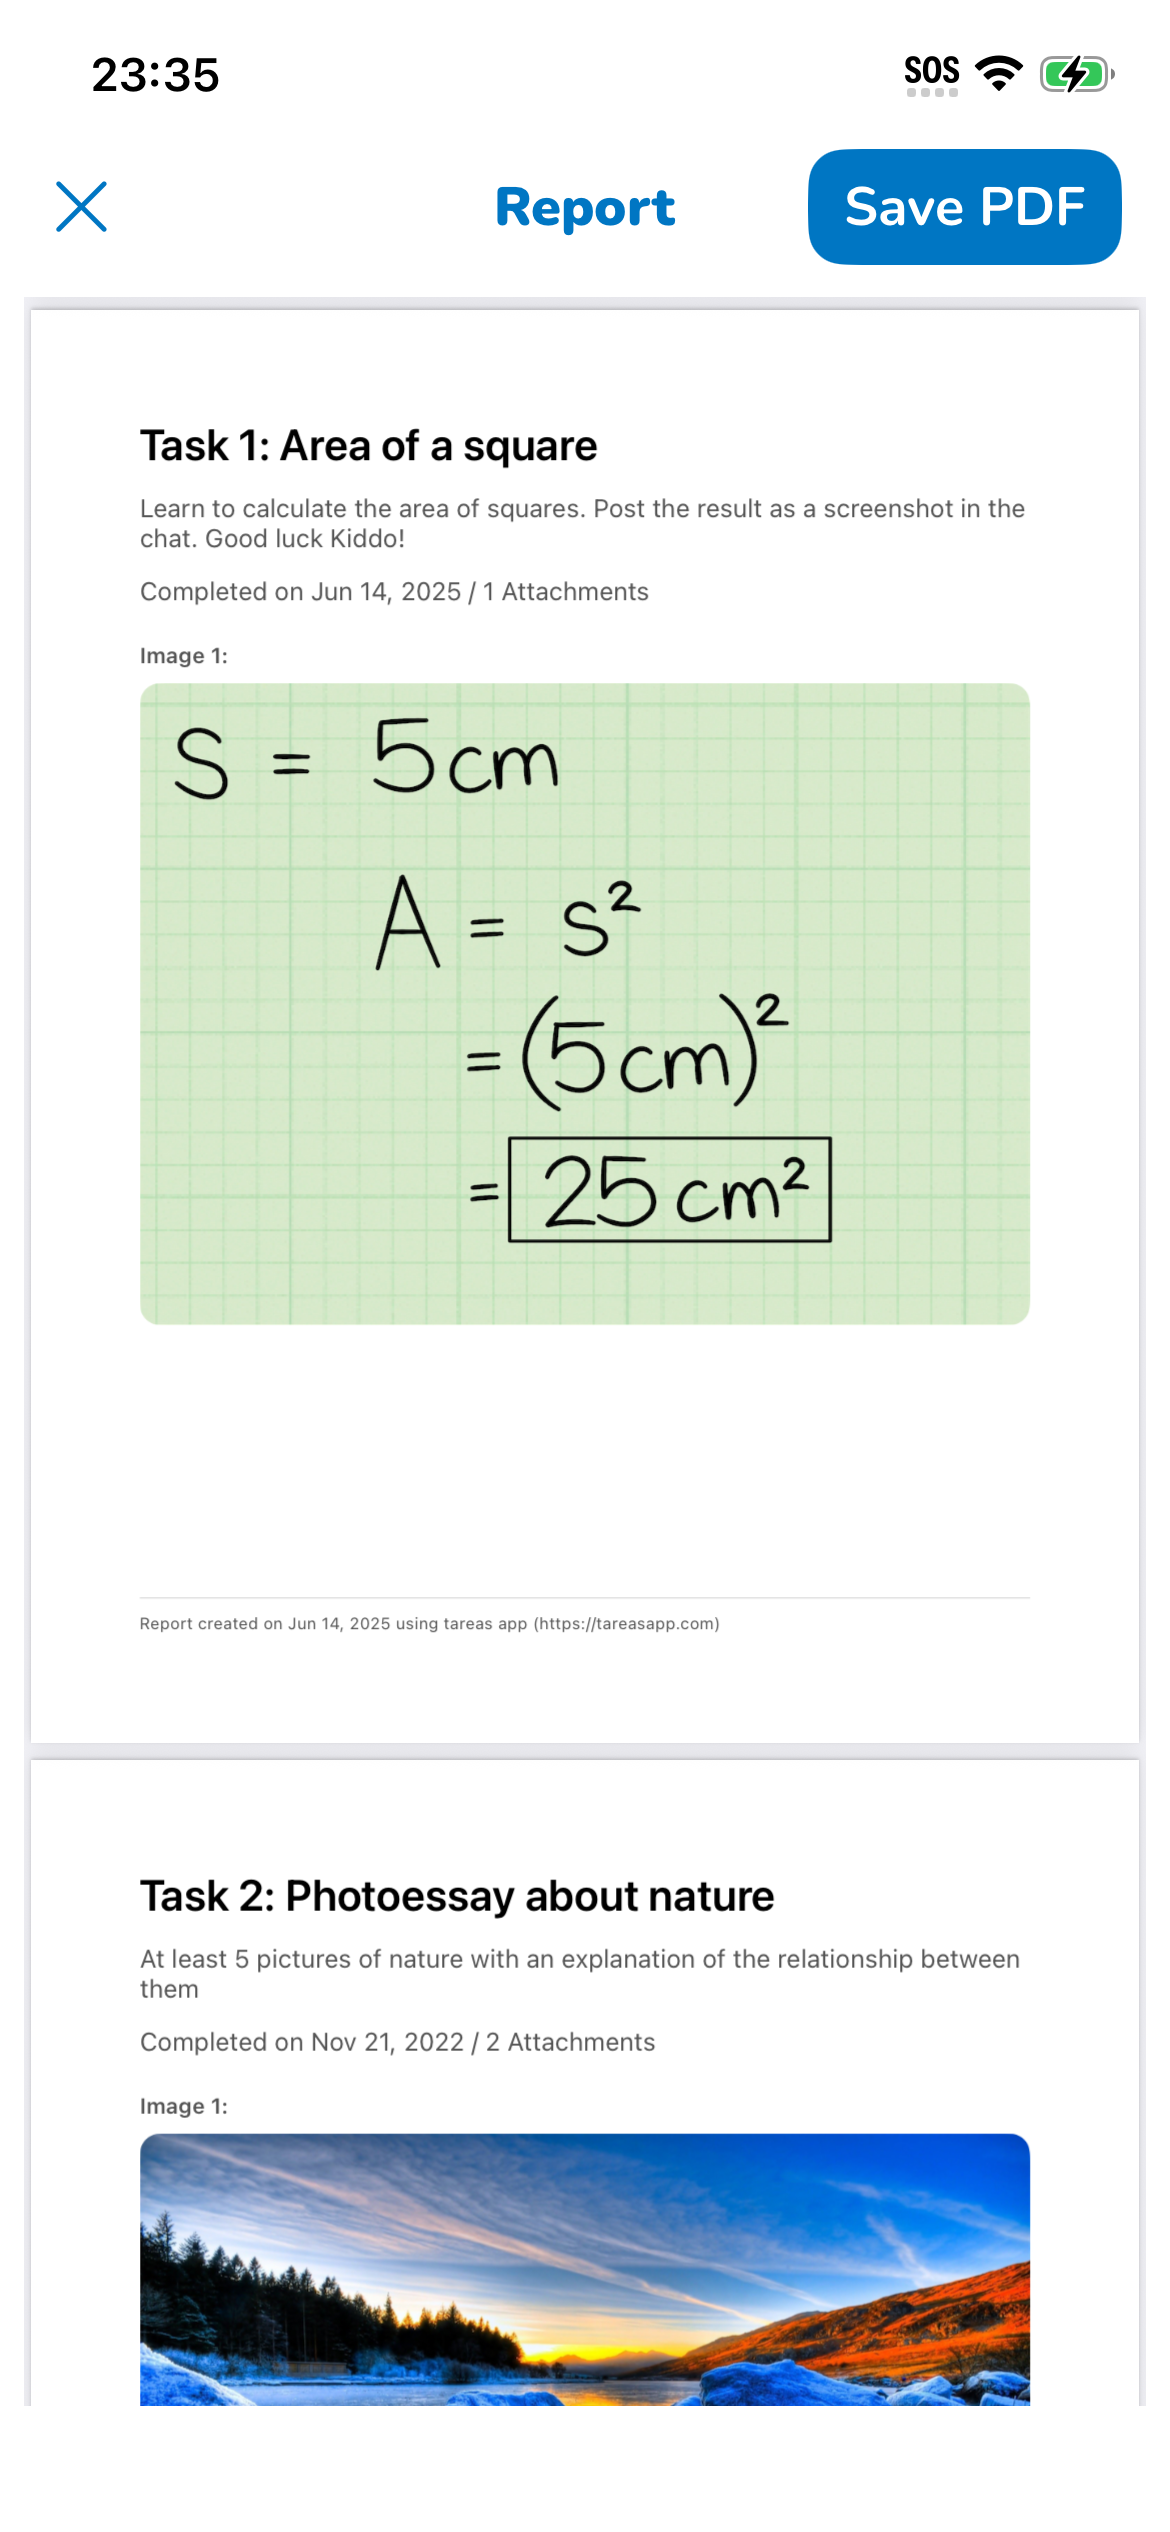
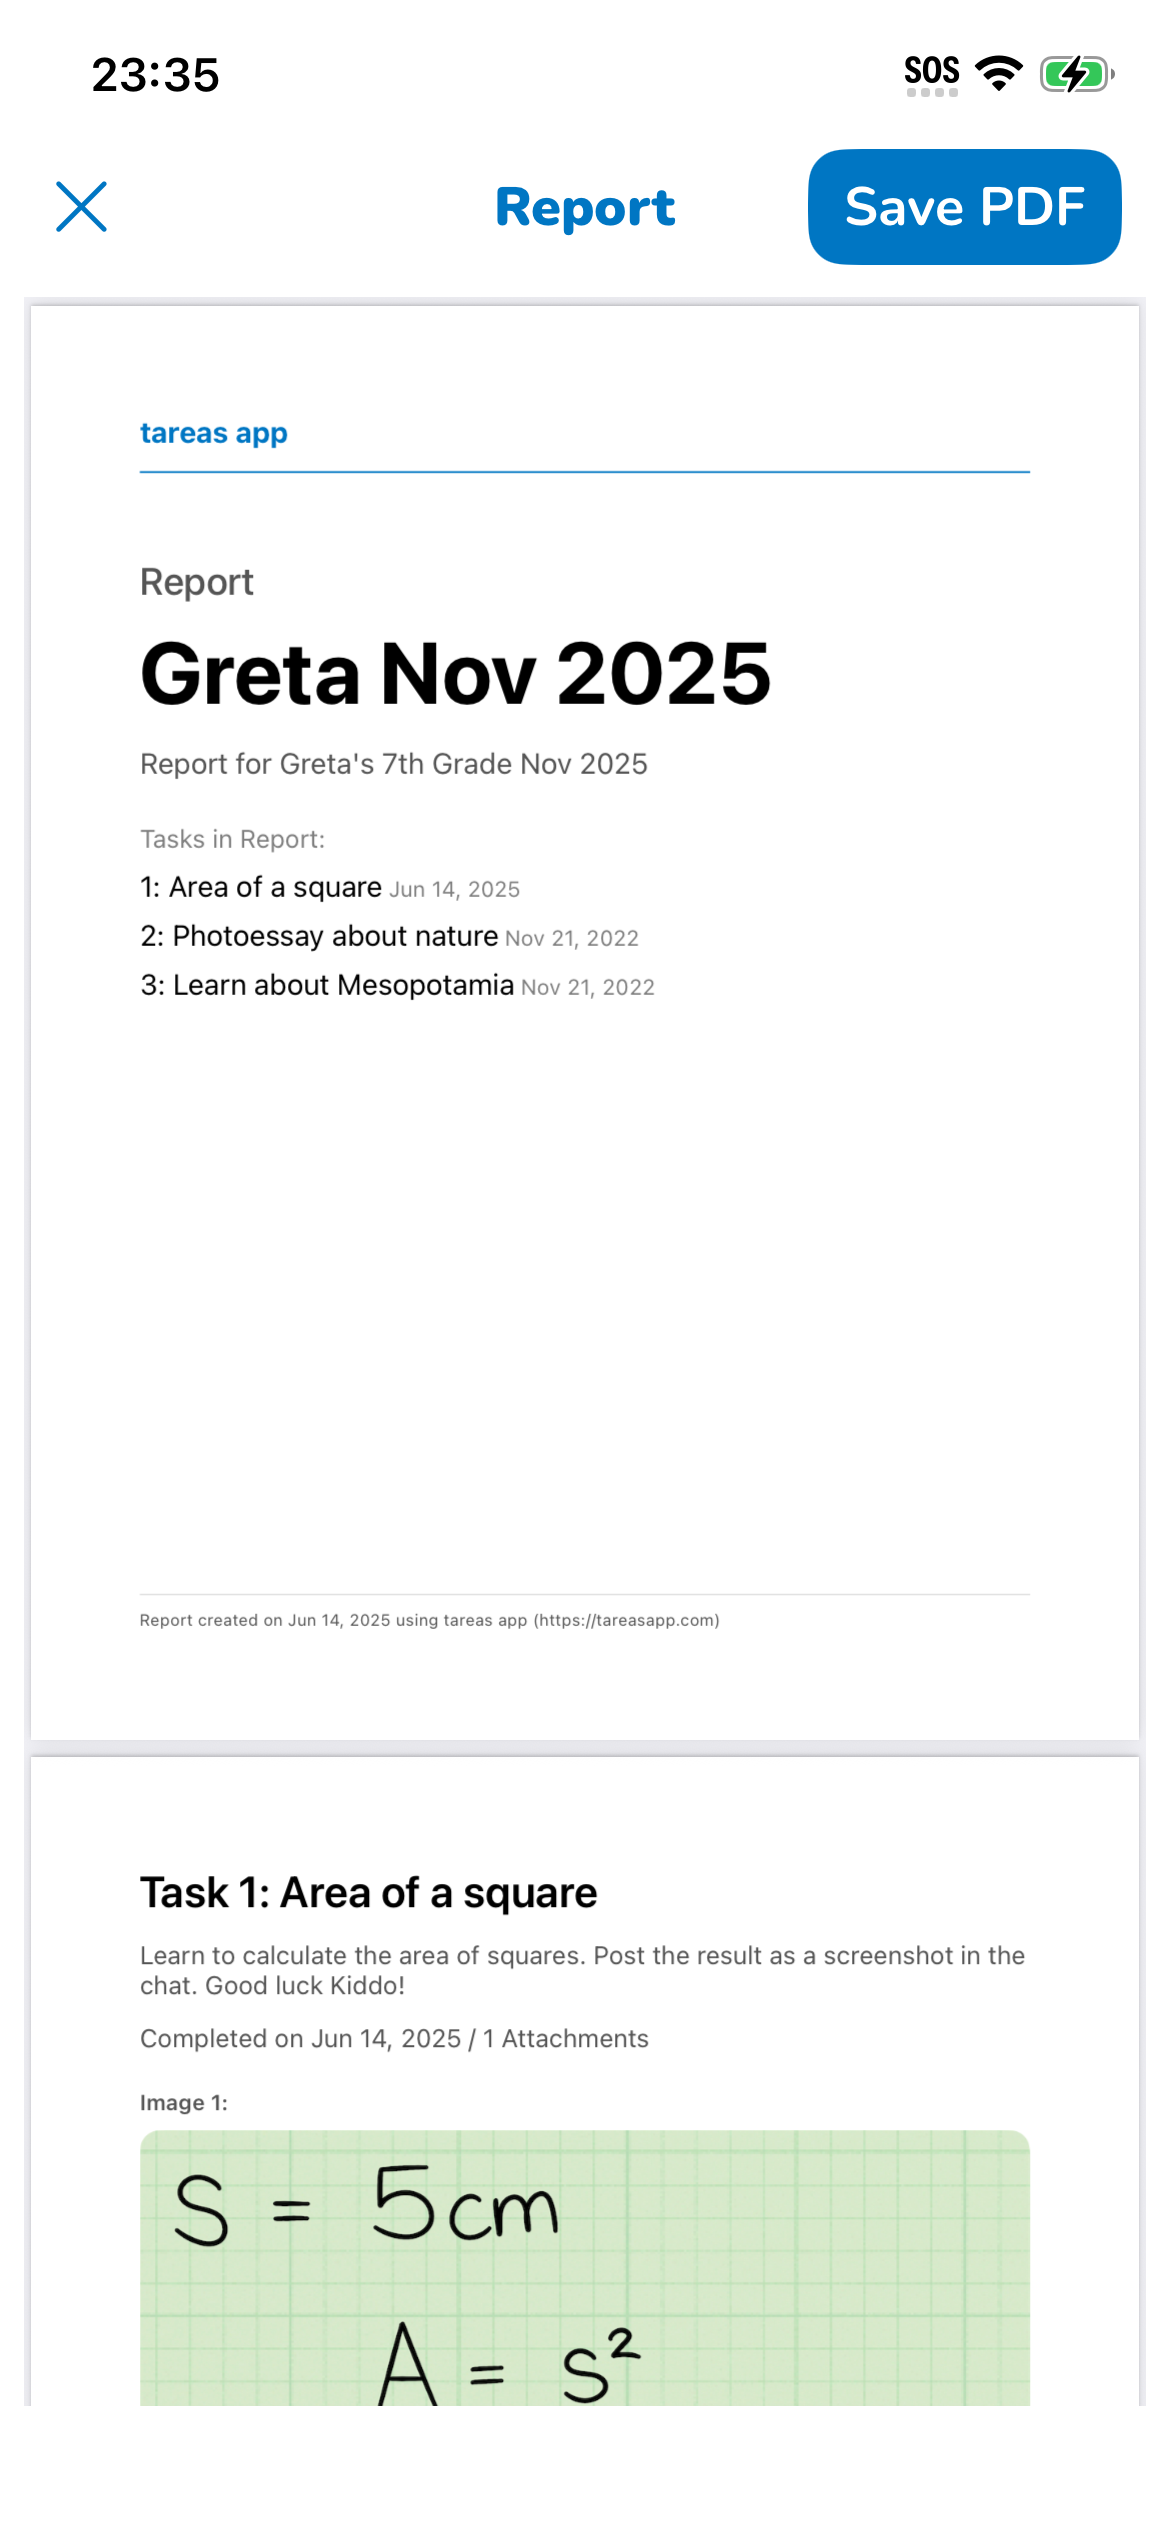
The app will then create a PDF with the name of the member, the creation date, and a page for each selected task.
Each task will contain the task title, the task description, the task completion date, and all selected images or pdf in the task chat.
Once you create your Report, you can save it* locally, print it, send it to other apps, or share it with other people by email, text message, and any other available channel on your device.
*Requires a Cloud Plan subscription due to file storage expenses.